
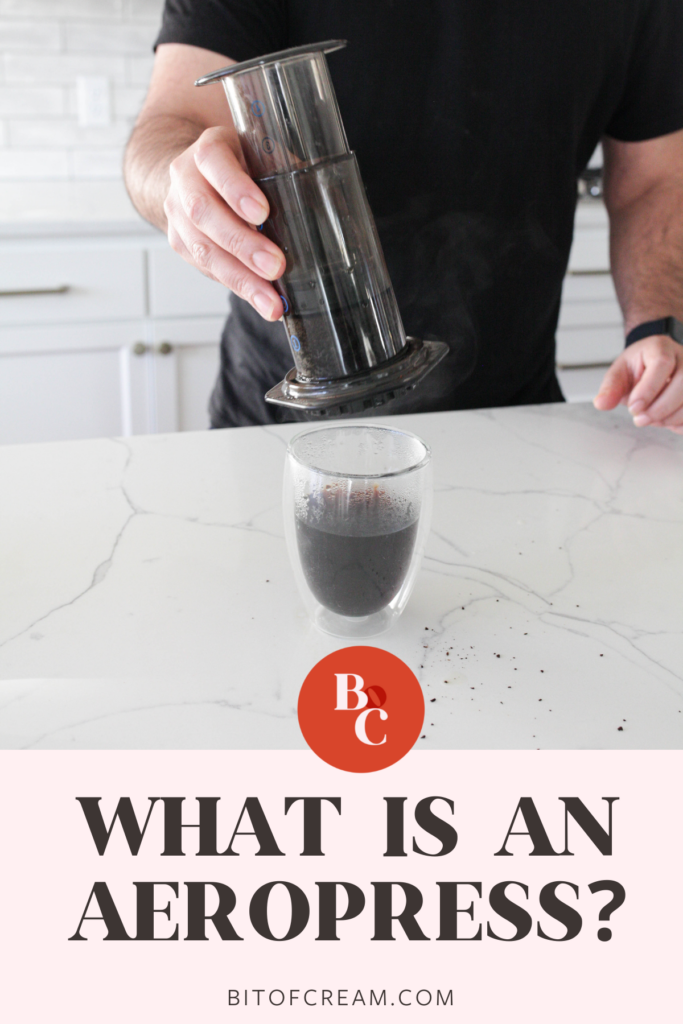
Wondering what an AeroPress Coffee maker is? Want to know how to use one? Today we’re going to give you the inside scope of the AeroPress with our full AeroPress coffee maker review!
The AeroPress was one coffee maker I was introduced to when I met my husband. Nothing beat lazy Saturday mornings sipping the perfect coffee from his AeroPress!
He’s here today to share the ins and outs of his AeroPress. I’ll let him take over!
I’m convinced the AeroPress coffee maker should earn a place in every coffee lover’s cupboard. Two reasons: (1) The AeroPress may well be the easiest and fastest way to a high quality cup of coffee, and (2) it’s a modestly priced (~$30) piece of portable equipment.
Whether you’re at home or on the road, this is a surefire way to make yourself a quality cup of joe; no electricity needed.
What is the AeroPress Coffee Maker?
We are a participant in the Amazon Services LLC Associates Program, an affiliate advertising program designed to provide a means for sites to earn advertising fees by advertising and linking to Amazon.com. As an Amazon Associate we earn from qualifying purchases.
The AeroPress is a small, affordable, portable coffeemaker that allows you to brew a single cup of coffee on the go. You can thank Alan Adler, a retired Stanford University engineering instructor, who invented the AeroPress in 2004. It took 40 different prototypes starting in 1994 to perfect the AeroPress.
So how’s it work? The AeroPress coffee maker, similar to a French Press, utilizes immersion to brew. Unlike a French press, the immersion process is much quicker, yielding a brighter and cleaner cup of coffee.
Quick aside on immersion—as inferred, involves immersing coffee grounds in water, but the key difference versus drip, pour over, etc. is you control the length at which the water and grounds interact.
General steps to using the AeroPress
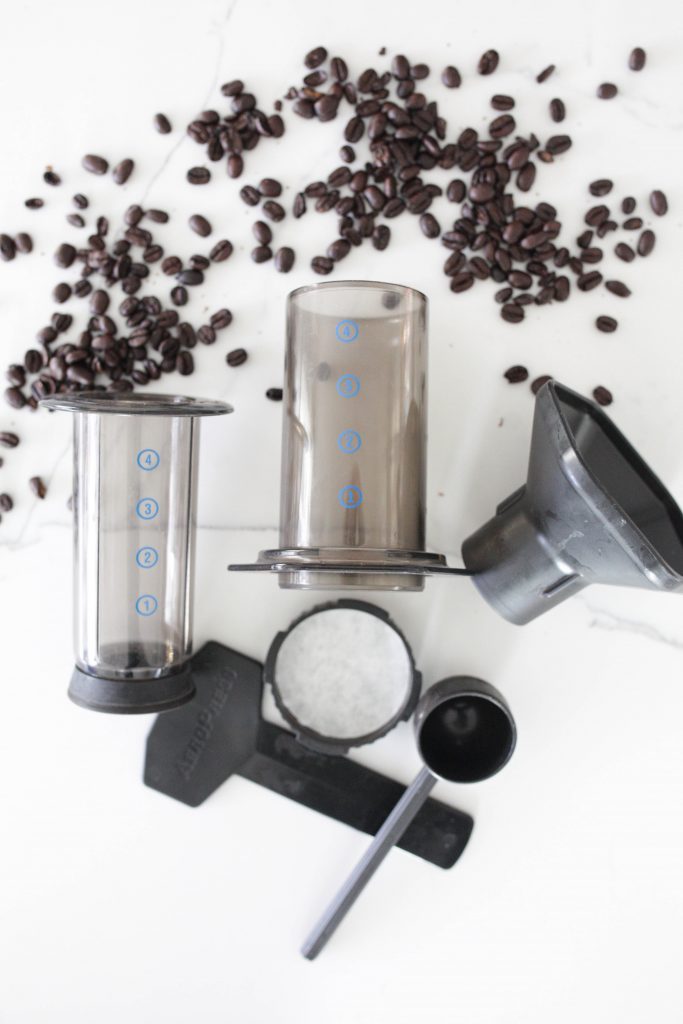
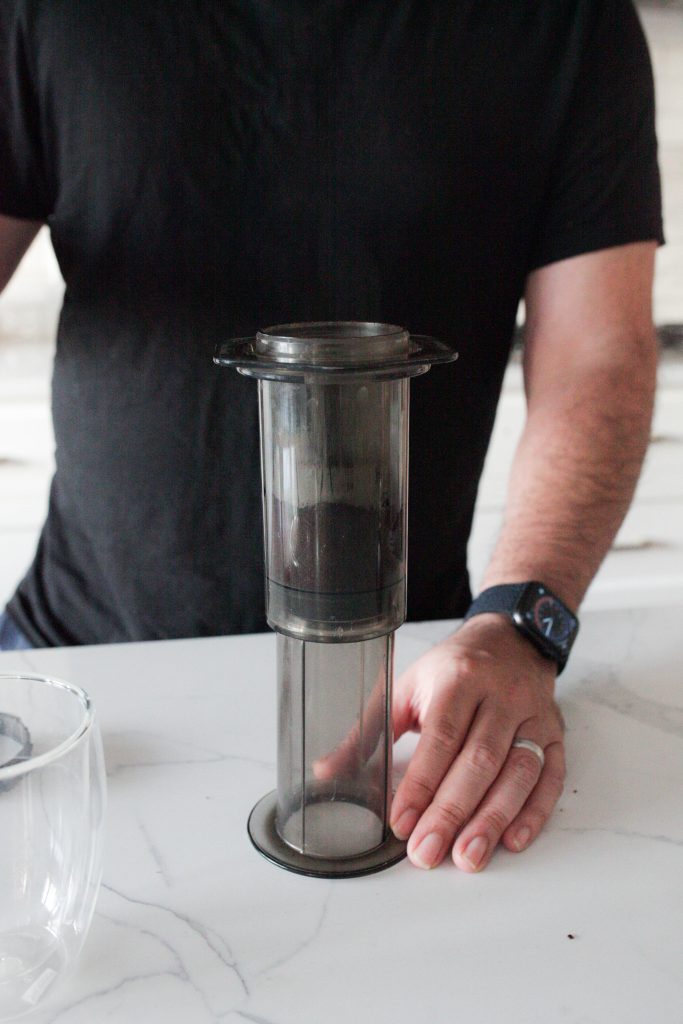
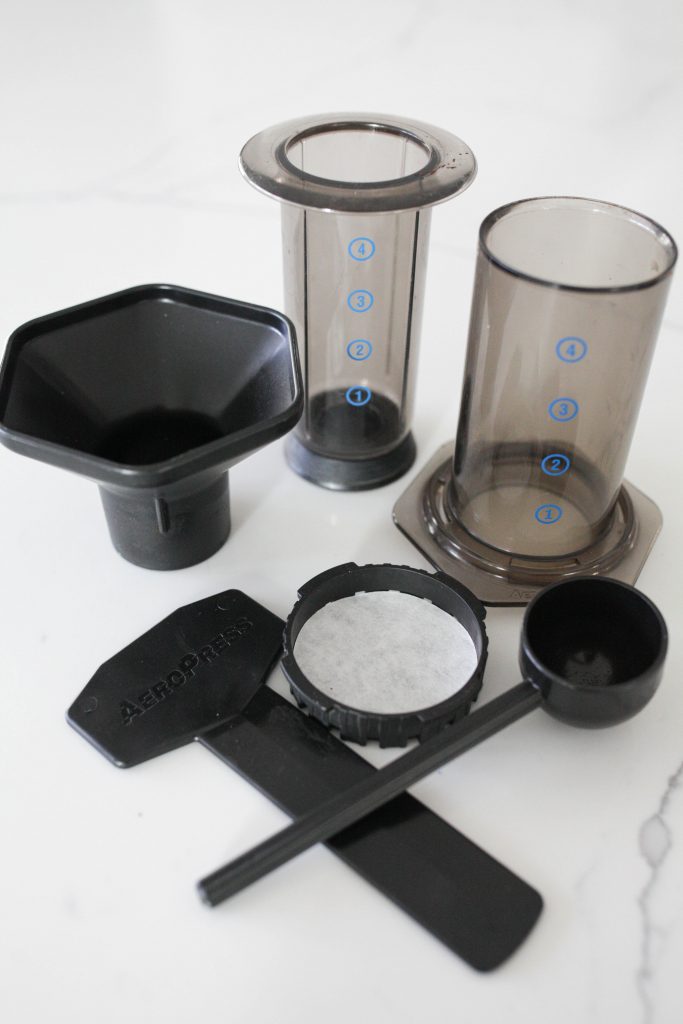
The equipment basically consists of 3 key pieces – the brewing chamber, plunger and filter cap. The chamber is an oversized syringe like apparatus where you put grounds into.
You then pour water into the chamber and agitate the grounds to let them bloom (~30-60 seconds) and then use the other cylinder as a plunger, to press water through grounds and a filter, into a mug.
How do you use an AeroPress?
As with any brewing method, there are the typical variables to tweak to suit one’s taste. In fact, there’s even a very popular World AeroPress Championship where baristas compete for top honors.
With that said, the AeroPress coffee maker is one of the most forgiving methods of brewing—so don’t be afraid to experiment! Below is my current go to method, which will give you the basic steps of the process:
- Put a filter (some people swear by using two filters, I only use 1) in the filter cap and wet the filter(s)
- Twist the filter cap onto the chamber
- Stand the chamber on a mug (not-preheated) and put a rounded scoop of fine grind coffee (e.g. Baritza Encore #6) into the chamber
- Shake chamber to level coffee
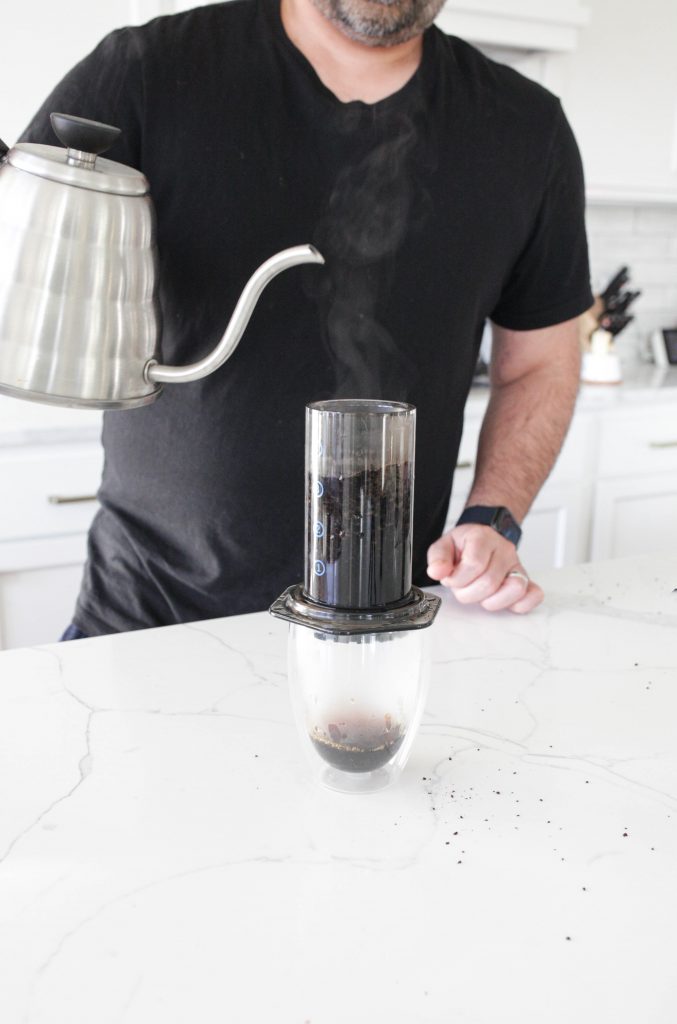
- Add 185◦F(85◦C) water (meaningfully cooler than just off boiling as a guidepost) to #3 on the chamber and stir with stirrer for ~10 seconds.
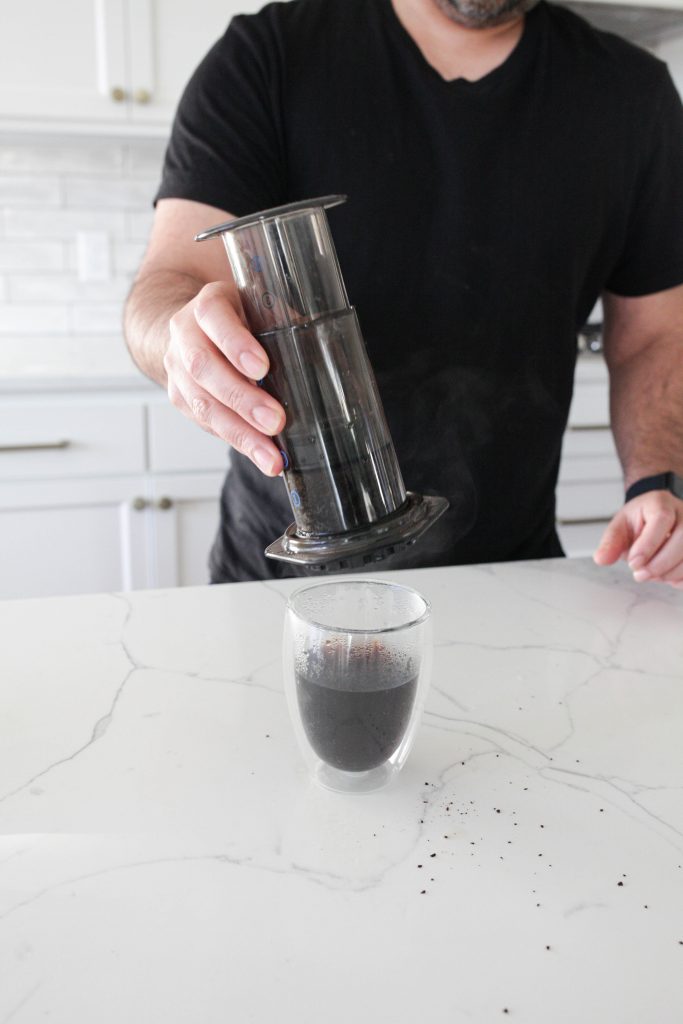
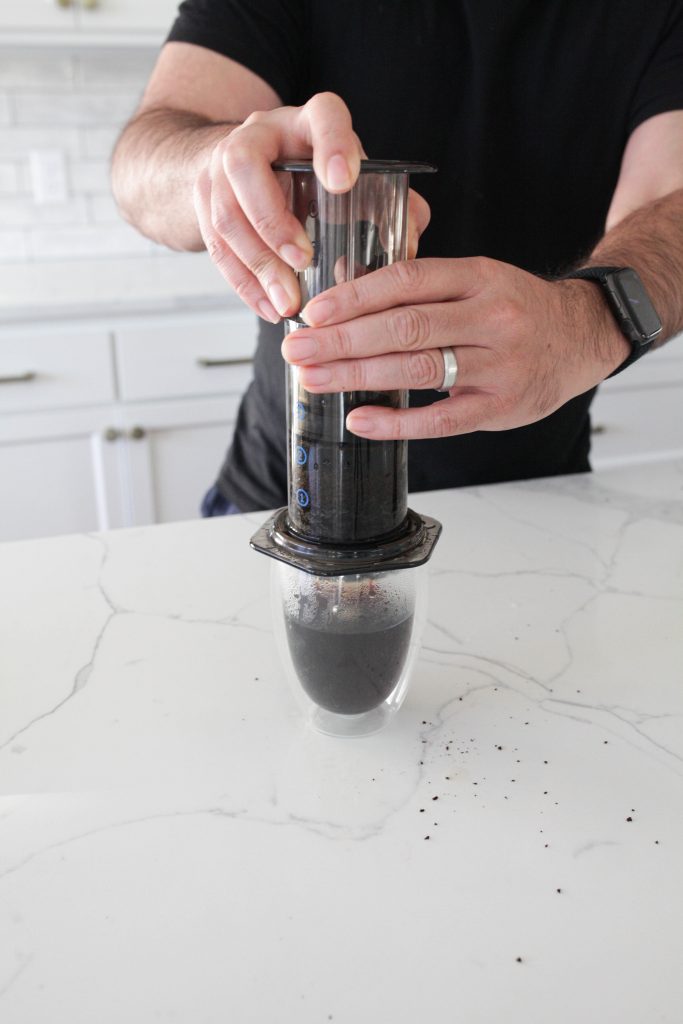
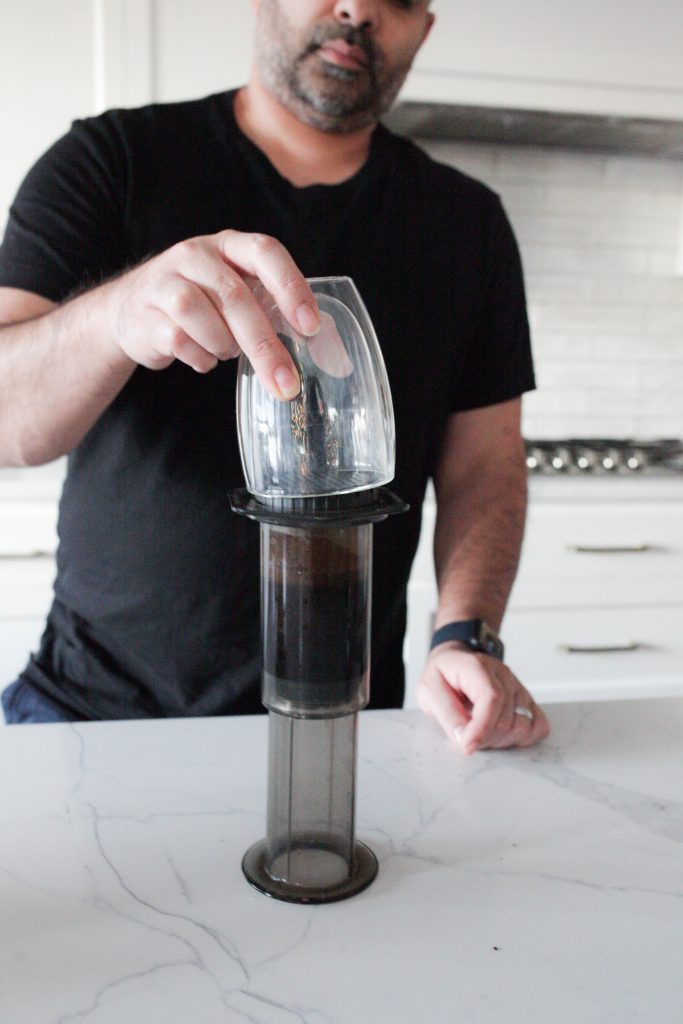
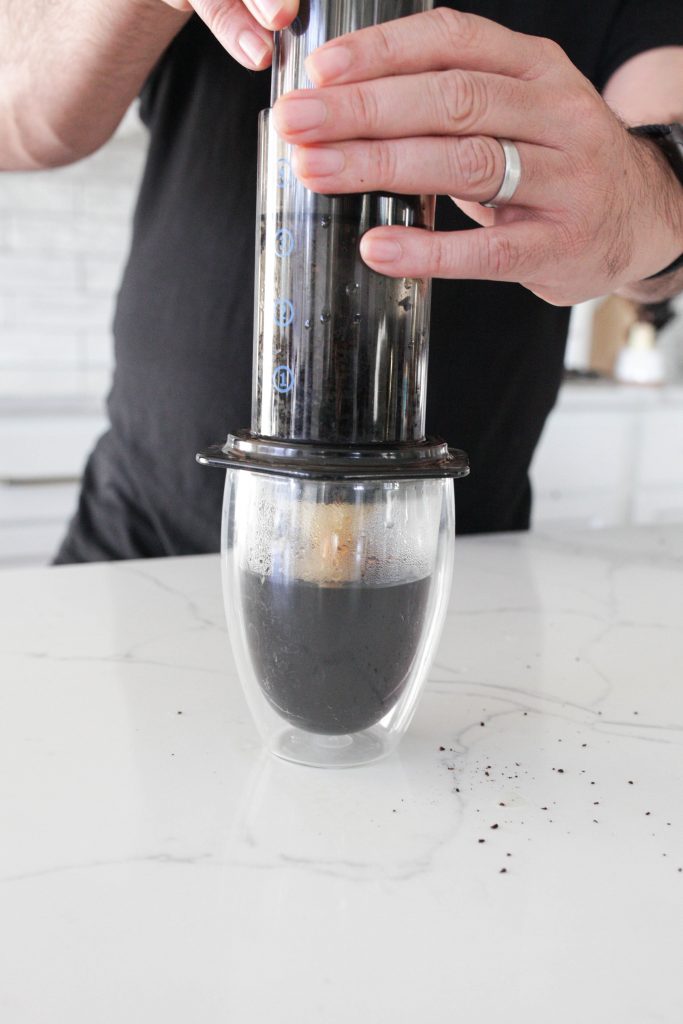
- Insert plunger and press gently, pausing when you feel resistance, until plunger reaches the grounds (~50 seconds varying based on how fine the grind). I emphasize gently here as this is far and away the easiest place to go wrong.
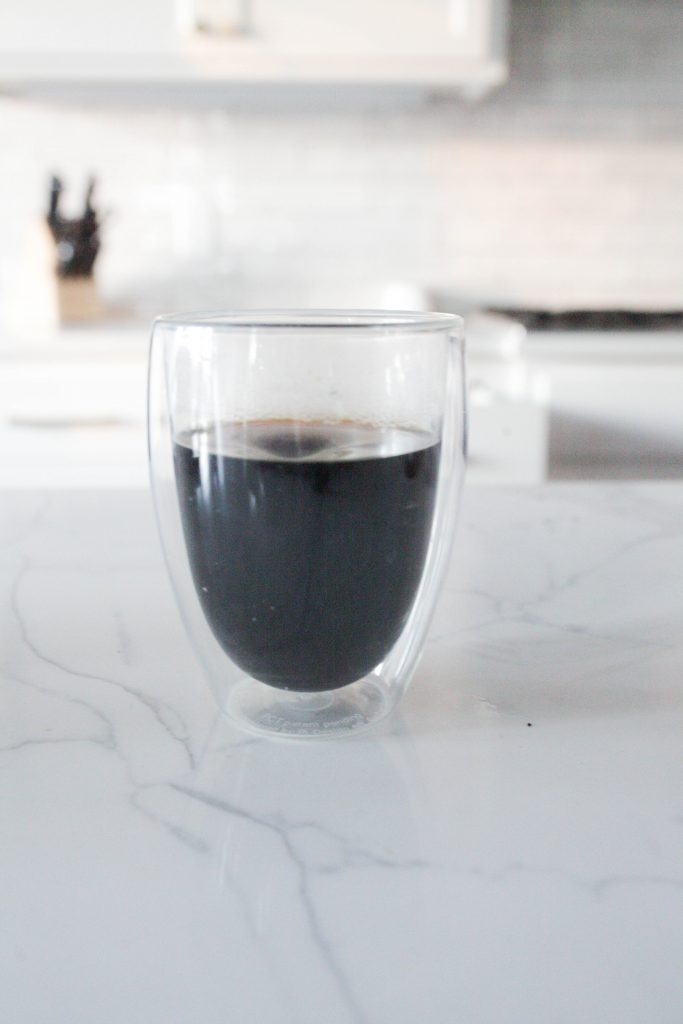
- Drink as-is for espresso style (minus crema), add 8 oz. of water for coffee style, or add 8 oz. milk for latte style (minus crema). If adding water or milk, give it a stir.
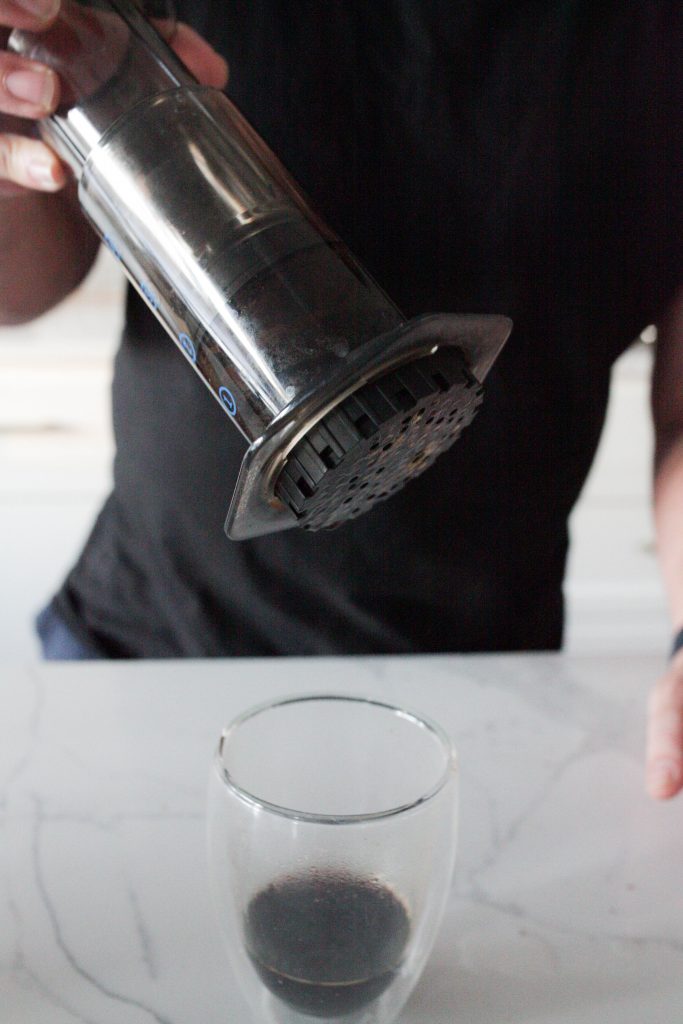
- Cleanup is as easy as removing the filter cap, ejecting the coffee grounds by pushing the plunger, and rinsing the chamber and seal. I’d remove the gasket for a thorough cleaning every two weeks or so.
You can also make a cold-brew by: (1) using room temperature water, (2) increasing the stir time to one minute, (3) adding 8 oz. of ice water.
Inverted brewing method
Note, a common (not obvious) variation is the inverted method by which you stand upside down the plunger with barrel attached, insert the coffee grounds, pour the water, stir, put the filter on and let steep for 60-90 seconds, then hold the mug upside down on top of the barrel to flip together right side up before plunging.
The primary benefit of this method is it prevents water seeping from through the grounds into the mug before plunging, thus allowing for more controlled steeping.
The secondary benefit of this process is that it creates a better path for the oils to reach your mug (they rise to the top while steeping, which, unlike the traditional method, becomes closest to the filter when plunging), so you get a bit of a fuller bodied cup of coffee.
Fun fact—the inverted method was used in the recipe that’s won the last 5 World AeroPress Championships.
Below are baseline step-by-step instructions for the inverted method:
- Stand the AeroPress upside down (inverted) with the rubber plunger securely through the barrel
- Put a rounded scoop of fine grind coffee (e.g. Baritza Encore #6) into the chamber
- Put a filter (some people swear by using two filters) in the filter cap and wet the filter(s)
- Add 185◦F(85◦C) water (meaningfully cooler than just off boiling as a guidepost) to #1 on the chamber and stir with stirrer for a few seconds.
- Twist the filter cap onto the chamber
- Let the coffee steep for 90 seconds
- Put your mug (not preheated) upside down onto the chamber and CAREFULLY flip over the two sections and coffee mug together.
- Press plunger gently, pausing when you feel resistance, until plunger reaches the grounds (~50 seconds varying based on how fine the grind).
- Drink as-is for espresso style (minus crema), add 8 oz. of water for coffee style, or add 8 oz. milk for latte style (minus crema). If adding water or milk, give it a stir.
- Cleanup is as easy as removing the filter cap, ejecting the coffee grounds by pushing the plunger, and rinsing the chamber and seal. I’d remove the gasket for a thorough cleaning every two weeks or so.
Pros of the AeroPress
- It’s easy to learn how to use.
- It’s portable.
- It makes a good cup of coffee quickly.
- There are different types of recipes to try out.
- Clean up is a breeze.
Cons of the AeroPress
- Small learning curve to perfect your brew strength.
- Unable to make multiple cups of coffee (unlike the french press which has larger types of makers).
- Other machines (like a Keurig or Nespresso) is quicker to brew.
AeroPress vs AeroPress Go
There are two versions of the AeroPress currently available: (1) the Original AeroPress (pictured above) and (2) AeroPress Go. The equipment, and as a result, the output are very similar.
As you would expect, what you gain with the Go (introduced in 2019) is hyper-portability—all the contents fit into a 15 oz. lidded plastic mug that is part of the included equipment.
What you lose is 2 oz. of brewing capacity (8 vs 10 oz.).
All of the equipment is free of BPA and phthalates (the bad stuff). Aside from the silicone seal and paper filters, all of the AeroPress parts are made of polypropylene. The equipment is made in the USA and is FDA and EU approved.
Is AeroPress better than French Press?
It’s truly hard to say! The French Press is great for multiple cups of coffee and people who like to just make a pot and forget about it until they’re ready to drink it.
The AeroPress coffee maker is great for coffee drinkers on the go who don’t mind making just one cup and the added challenge of perfecting their brew.
They’re both very inexpensive so we say it’s worth trying out both to see which one you like better!
World AeroPress Championships Recipes
When you’re ready for some inspiration, or for those that prefer diving in head-first, below are the winning methods from the World AeroPress Championships dating back to the inaugural competition in 2009; Well, the first competition was in 2008, but there were all of three contestants participating in a spontaneous event… and the recipe wasn’t captured.
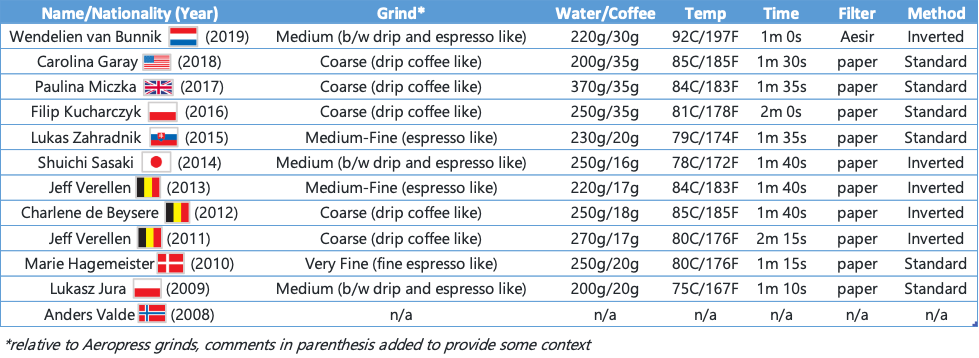
Quick reference summary table:
Detailed AeroPress Recipes:
2019 World AeroPress Champion
Wendelien van Bunnik, the Netherlands
INPUTS
- Coffee: 30g
- Grind: 7/10 (1=very fine, 10=very coarse)
- Water: 100g Spa Blauw water (30PPM) @ 92°C (197.6°F)
- Brewer: Inverted
- Filter: Aesir Filter (Rinsed)
- Total brew time: 60 seconds
DIRECTIONS
- Pour 100g of water on the coffee in 10 seconds.
- Stir firmly for 20 times in 10 seconds.
- Put the filter cap with rinsed filter on the brewer and gently press out excess air.
- At 40 seconds, flip the AeroPress and press out all coffee. You should end up with roughly 60g of extracted coffee.
- Add 100g of water to the extracted coffee.
- Taste and add more water until the desired strength (I ended up with 120g dilution)
- Cool the brew down to roughly 60°C (140°F) by stirring and decanting
- Slurp & enjoy!
2018 World AeroPress Champion
Carolina Ibarra Garay, USA
INPUTS
- Coffee: 34.9g
- Grind: 8/10 (1=very fine, 10=very coarse)
- Water: 160g @ 85°C, 40g at room temperature
- Brewer: Inverted
- Filter: Paper
- Total brew time: 1:30
DIRECTIONS
- Set your water temperature at 85 degrees Celsius.
- Prepare your filter paper (by rinsing with hot water) and grind your coffee.
- Pour 100g of water for 30 sec.
- Stir vigorously but carefully with wooden pair of chopsticks for 30 sec.
- Put the filter cap on, flip the AeroPress and press into a glass server for 30 sec.
- Do not preheat your serving vessel.
- Top up your brew with 60g of 85 degrees Celsius water and 40g of room temperature water.
2017 World AeroPress Champion
Paulina Miczka, England
INPUTS
- Coffee: 35g
- Grind: 8/10 (1=very fine, 10=very coarse)
- Water: 370g @ 84°C
- Brewer: Inverted
- Filter: Paper
- Total brew time: 1:35
DIRECTIONS
- Put 35g of coffee into your AeroPress
- From 0:00 to 0:15, add 150g of water
- From 0:15 to 0:35, stir and keep stirring
- At 0:35, put filter cap (with pre-wet filter) in place
- At 1:05, flip the AeroPress and start pressing
- At 1:35, stop pressing. You should have now 90ml of the concentrated brew (4.5%TDS)
- Add 160g – 200g of hot water and enjoy!
2016 World AeroPress Champion
Filip Kucharczyk, Poland
INPUTS
- Coffee: 35g
- Grind: Coarse
- Water: 81°C
- Brewer: Inverted
- Filter: Paper, rinsed
DIRECTIONS
- Start the timer
- Pour 150 grams of water for 15 seconds
- Stir until 30 seconds on the timer
- Put the lid on, wait until 1 minute on the timer
- Invert AeroPress, give it a swirl, plunge
- Add 100 to 120 grams of water to taste
2015 World AeroPress Champion
Lukas Zahradnik, Slovakia
INPUTS
- Coffee: 20g
- Water: 230g @ 79°C
- Brewer: Inverted
- Filter: Paper
- Total brew time: 1:35
DIRECTIONS
- Grind coffee at “7.3” on a Malkoenig EK43
- Heat water to 79°C
- Add 60g of water
- Turbulent wiggle for 15 seconds
- Allow 30 seconds of bloom
- Add the rest of the water in 10 seconds
- Press down for 45 seconds
2014 World AeroPress Champion
Shuichi Sasaki, Japan
INPUTS
- Coffee: 16.5g
- Water: 250g soft mineral water @ 78°C
- Brewer: Upright
- Filter: Paper
- Total brew time: 1:40
DIRECTIONS
- Grind coffee at “9.5” on a Malkoenig EK43
- Rinse paper filer with warm water
- Heat water to 78°C
- Add 40g of water
- Allow 25 seconds of bloom
- Stir five times
- Add 210g of water and stir once
- Press down very slowly for 75 seconds
- Leave 45g of slurry in the AeroPress
2013 World AeroPress Champion
Jeff Verellen, Belgium
INPUTS
- Coffee: 17g
- Water: Soft Water (SPA) with high PH @ 83°C – 84°C
DIRECTIONS
- Bloom 40 sec with 50ml water
- Add 220g water (total 270) at 79°C
- Press slowly for 30 seconds
- Leave approx. 50g in the brewer (both water and coffee)
2012 World AeroPress Champion
Charlene de Buysere, Belgium
INPUTS
- Coffee: 18.3g
- Grind: Coarse
- Water: 250 @ 85°C
- Brewer: Upright
- Filter: Paper, rinsed
DIRECTIONS
- Wet the filter thoroughly
- Put it in the AeroPress filter cap
- 18.3 grams of coffee, grind coarsely
- Use the normal (non-inverted) method
- 85°C, 250 grams water
- About 40 grams of blooming water (+/- 30 sec)
- Then poor the rest of the water and press, not pressing all the way
- Then serve. Simple!
2011 World AeroPress Champion
Jeff Verellen, Belgium
INPUTS
- Coffee: 17g
- Grind: Coarse
- Water: 270 @ 80°C
- Brewer: Upright
- Filter: Paper, rinsed with hot water
DIRECTIONS
- Put the paper filter in the filter holder, wet it with hot water, let it expand and refit it. Screw it very tightly into a clean preferably pre-heated AeroPress.
- Measure out 17 grams of coffee (well, specifically this Kenya…) and grind coarsely, bit coarser than paper filter at the very last moment.
- Put the AeroPress non-inverted on the recipient.
- Measure 270 grams of soft mineral water or filtered water and bring it to 80°C.
- Splash a bit of the water on the filter and directly after throw in the freshly ground coffee, as to allow the bottom to wet and expand a bit.
- Directly after wet the coffee by dripping or pouring very slowly all the grounds, about 40 grams
- After the coffee has absorbed the water, after about 30 seconds, start very slowly pouring the rest of the water, try to re-wet the coffee fully again, see that the grounds do not separate from the water, this can be done using a good kettle with small nozzle.
- Let the AeroPress steep and drip for about 1/4th through or 1 minute.
- Help about 2/4th of the rest of the water trough, with the provided piston, very gently.
- Remove the press and what’s left, about 50 grams of water from the recipient and throw away.
2010 World AeroPress Champion
Marie Hagemeister, Denmark
INPUTS
- Coffee: 20g
- Grind: Slightly finer than filter ground
- Water: 80°C
- Brewer: Inverted
- Filter: Paper, rinsed with hot water
DIRECTIONS
- Boil the water (so it is 80°C when you pour it over the coffee)
- Grind the coffee, slightly finer than filter grind (20 grams)
- AeroPress inverted and soak the filter paper with hot water
- Put in the coffee and pour the 80°C water over it, almost to the top
- Stir for 10-12 seconds
- Heat the cup, and then slowly push the coffee in the cup – stop before you hear the air
- Serve
2009 World AeroPress Champion
Lukasz Jura, Poland
INPUTS
- Coffee: 19.5-20g
- Grind: Slightly coarser than filter ground
- Water: 200ml @ 75°C
- Brewer: Inverted
- Filter: Paper, soaked
DIRECTIONS
- Stir 4 times
- Stop stirring, secure the filter and turn at around 10 seconds (total contact time around 15 sec.)
- Press and serve
Want to know the difference between a french press and an aeropress? Head here!
In the mood to make some shaken espresso? We’ve got you covered with a coffee guide all about this popular drink, and how to make your own version at home!