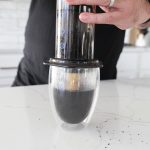
Using the right coffee grind size is one of the most important elements to getting the most out of your Aeropress. The perfect grind size for an Aeropress is a medium-fine ground. This will always deliver the best results.
The Aeropress is a popular brewer for so many reasons. It’s simple to use, yet versatile. But it’s not a brewer you can plug any coffee into regardless of grind and expect something good to happen. It takes a little patience and experimentation to get it right.
I’ve been making Aeropress coffee for years. It’s one of the best perfect single-serving brew methods that consistently makes delicious coffee.
In this article, I’ll walk you through the reasons why medium-fine is the best grind size for Aeropress, how to identify and fix common grind size problems, and the brewing process on how to make the perfect cup using an Aeropress coffee maker. Head to the bottom to get our Aeropress recipe to make the best coffee using an Aeropress device!
This post includes affiliate links.
Why Does Aeropress Grind Size Matter?
Time is of the essence with the Aeropress. If the coffee grinds are ground too fine, you risk over-extracting the coffee. The coffee will be super difficult to plunge and over-extend the brew time.
If the coffee is ground too coarse, you may see water dripping through the filter into your cup before the coffee is even ready to be plunged. This means water is passing through the coffee at a faster rate than it should. And when you plunge the grounds, you will be able to tell by how little resistance you feel.
While you can use any type of coffee for Aeropress, I recommend using a medium-dark roast. Aeropress highlights acidity in coffee. If you’re starting with a coffee high in acidity, like a light roast, it can be difficult to find a balance that doesn’t make the acidity overpowering.
How to Choose the Right Coffee Grind for Aeropress
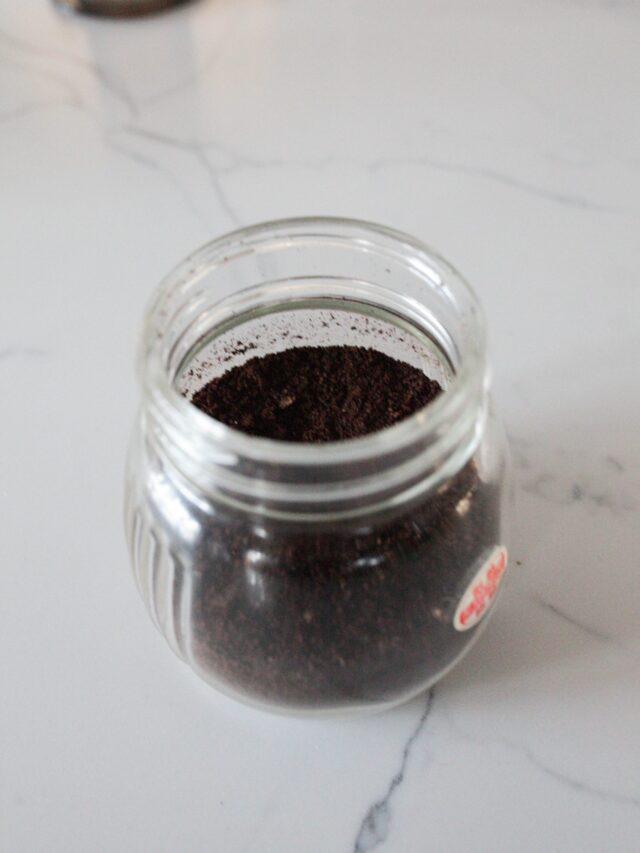
The ideal Aeropress grind setting is a medium-fine grind size, between drip and espresso. As a visual reference, try to grind a few beans at a time until they resemble the texture of table salt.
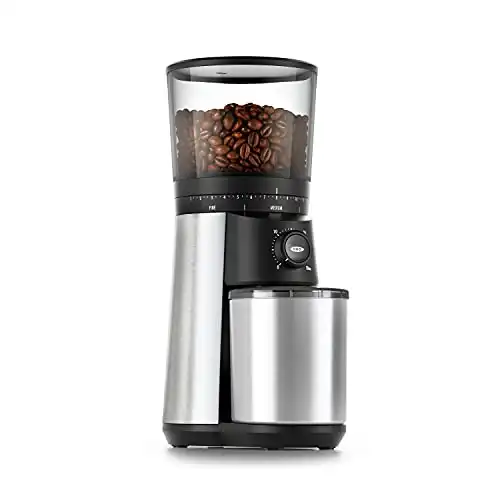
Equally important, the only way to render a delicious cup with an Aeropress is by grinding it yourself with a burr grinder rather than a blade grinder or buying pre-ground coffee. While yes, blade style coffee grinders can grind your coffee it’s not always as consistent as a burr grinder.
Burr grinders ensure that the coffee is ground consistently. No extra fine particulates or super coarse chunks of coffee messing up the flavor or texture of your cup.
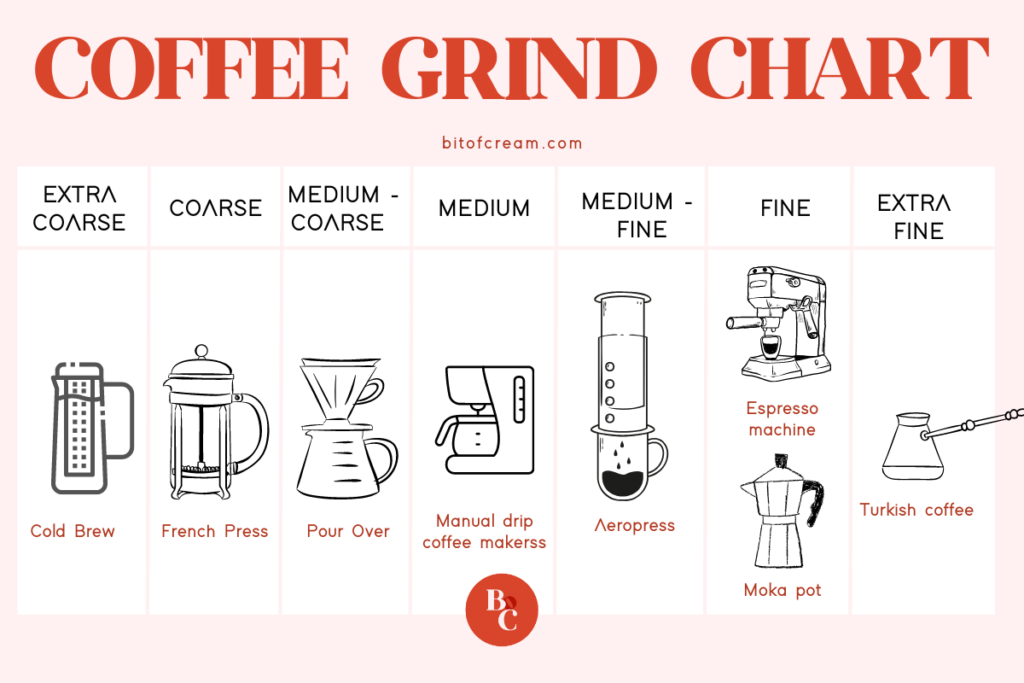
Below is a helpful guide to help you know what the different grind sizes are and when you should use them. For example, if you want a French Press coffee you’ll want to use a coarse grind. However, when using a moka pot or espresso machine, you’ll want a finer grind size.
Help! Why Does My Coffee Taste Bad?
If your coffee grounds are too fine, the immersion process will over-extract the grounds. This means the ground coffee is too exposed to water, resulting in an unpleasant bitterness.
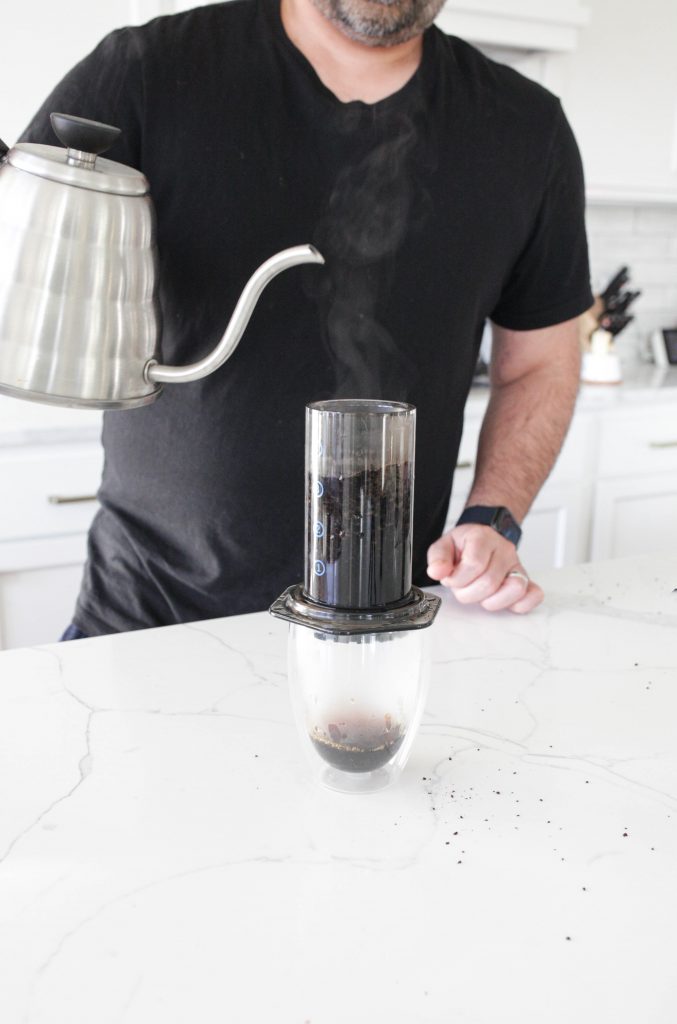
If you grind too coarse, the grounds are not exposed enough to the water, and your final cup loses out on all its potential flavor. Under-extracted coffee tastes sour and unpleasantly acidic.
By using a medium-fine, table salt consistency, grind setting you’ll reduce the opportunity for poor extraction.
Here’s a handy flavor guide to extraction:
| Under-Extracted | Over-Extracted |
| Sour | Bitter |
| Acidic | Ashy |
| Salty | Hollow (lack of specific flavor) |
The Tastiest Aeropress Recipe
Instructions
- Heat your kettle to 194-196 F. Use a digital thermometer to achieve perfect temperature.
- Grind 18 grams of coffee to a 6/10 setting, where 1 is finest espresso grind and 10 is consistency you'd use for drip coffee. A digital scale is helpful to measure the right weight.
- Wet the paper filter in the Aeropress cap over your mug. Swirl and dump the hot water. Set your lid aside.
- Add the ground coffee. Shake them until they lie flat at the top of the plunger.
- With a timer or stopwatch counting, pour 216g of water over the grounds until you reach the top of the Aeropress. Use a paddle or knife to give the grounds a brief, gentle stir and break up any clumps.
- Wait until you've reached a full minute before attaching the lid to the top of the Aeropress.
- Holding the middle of the Aeropress (both top and bottom) flip the Aeropress on top of your mug and plunge.
Conclusion
Coffee lovers can all agree that the best grind setting for Aeropress is medium-fine. This setting is the perfect right grind size, nestled between espresso and drip on your grinder.
There are many reasons for this, but the most important is flavor. Using a coarser grind and you risk under-extracting the coffee. If you’re in a pinch, you could always go to Starbucks and ask them to grind it for you!. A medium grind and you risk over-extraction.
- One touch start timer keeps your last setting, just push to grind
- Durable 40 millimeter stainless steel conical burrs create uniform grounds for optimal flavor extraction
Using a burr grinder (I love the OXO Brew Burr Coffee Grinder) and fresh, whole coffee beans, my recommendation is to start with a 6/10 grind and adjust from there, if 1 is espresso and 10 is drip. And you’ll have yourself a great coffee morning!
FAQ
If you grind as fine as a typical espresso, the risk for over-extraction is high. It will also prove very difficult to plunge the coffee, and you will wind up with particulates in your cup. Aim for a grind somewhere between espresso and drip
It’s best to use medium-dark roasts for an Aeropress. Though I encourage everyone to experiment, Aeropress does highlight the acidic flavors of coffee. So if you start with a coffee that is already high in acidity, you may wind up with unbalanced flavor.
This varies, but a common coffee to hot water ratio for Aeropress is 1:16. I tend to use lighter coffees because I tend to vary my brew method day-to-day. So sometimes I drop down to 1:12 and this works consistently for me.
Some people go as strong as 1:6, which would work well for a low-acid coffee. But It all depends on the strength you’re looking for in a cup. Start with the sweet spot at 1:16, then use your palate as your guide!

