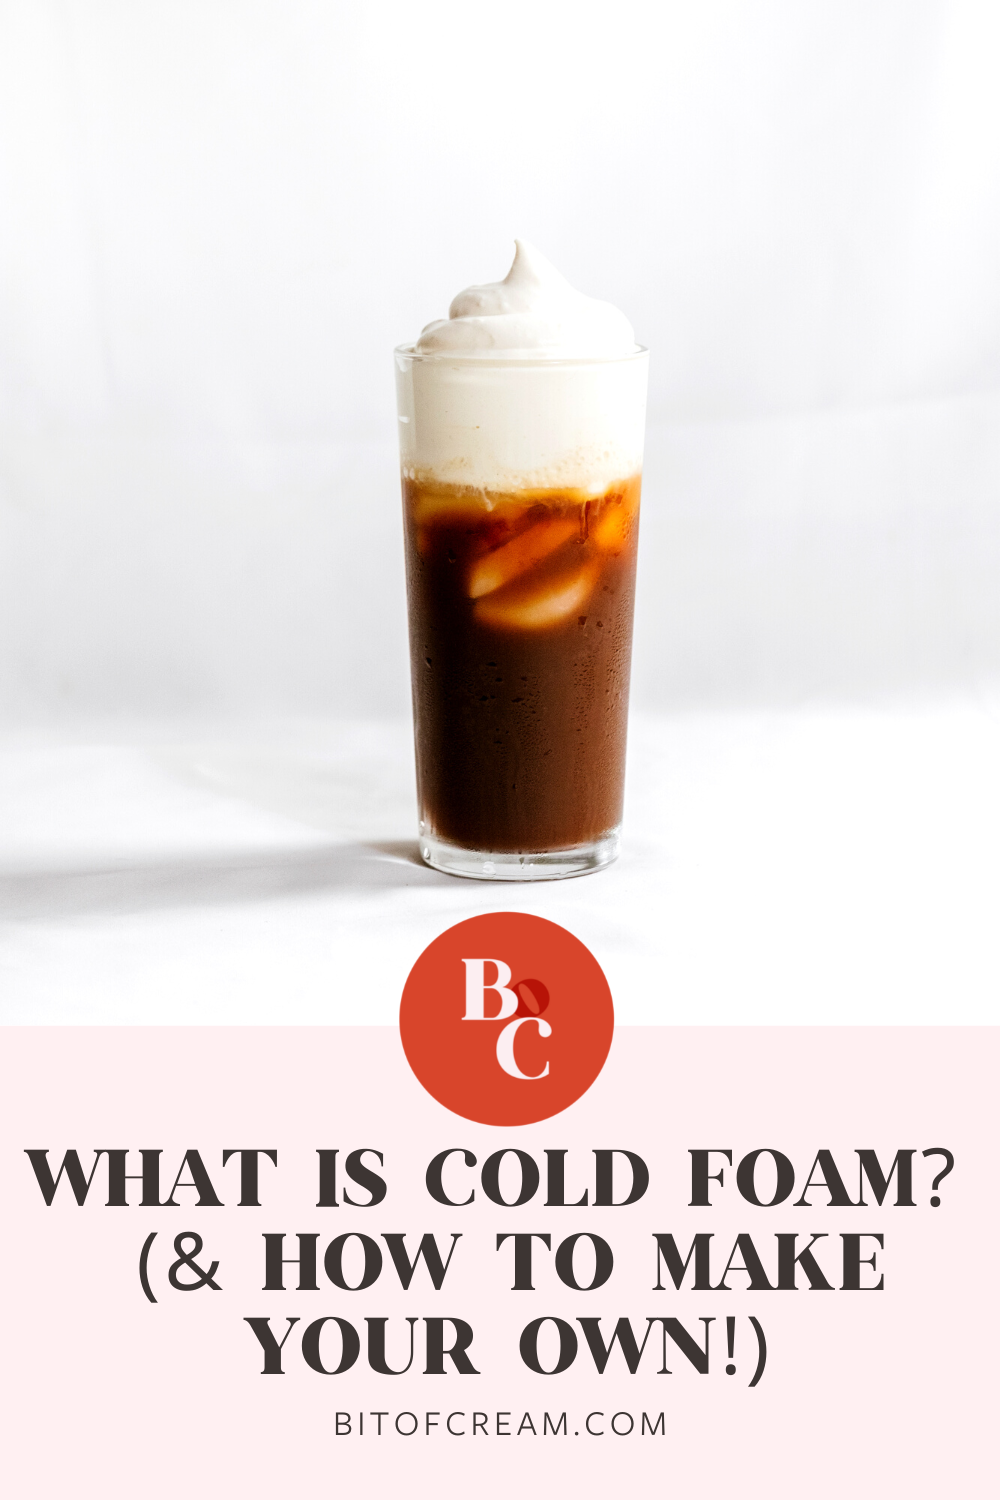
Cold foam is a fast, easy and delightful way to take your iced coffees and other cold coffee drinks to the next level. Cold foam is a frothy topping really similar to the foam you find on other drinks such as a classic latte but this one is specific for cold drinks!
Today we’ll dig into what cold foam actually is, tips for making it as well as my very own cold foam recipe. I’ll share with you how to make your own version that you’ll love with a blast of sweet vanilla cream flavor or as a plain pillowy texture addition.
This post includes affiliate links.
What is Cold Foam?
If you love hot foam on your cappuccino, chances are cold foam is also gonna be your jam. It’s almost the same, only lighter and cold.
Well-made cold foam is textured and stiff, meaning it holds its volume. It’s created by agitating and reorganizing the water-resistant proteins in milk to surround and protect tiny air bubbles.
There are several easy methods used to make cold foam. Most of them are inexpensive, and you can replicate them at home. I’m going to share a few in more detail below.
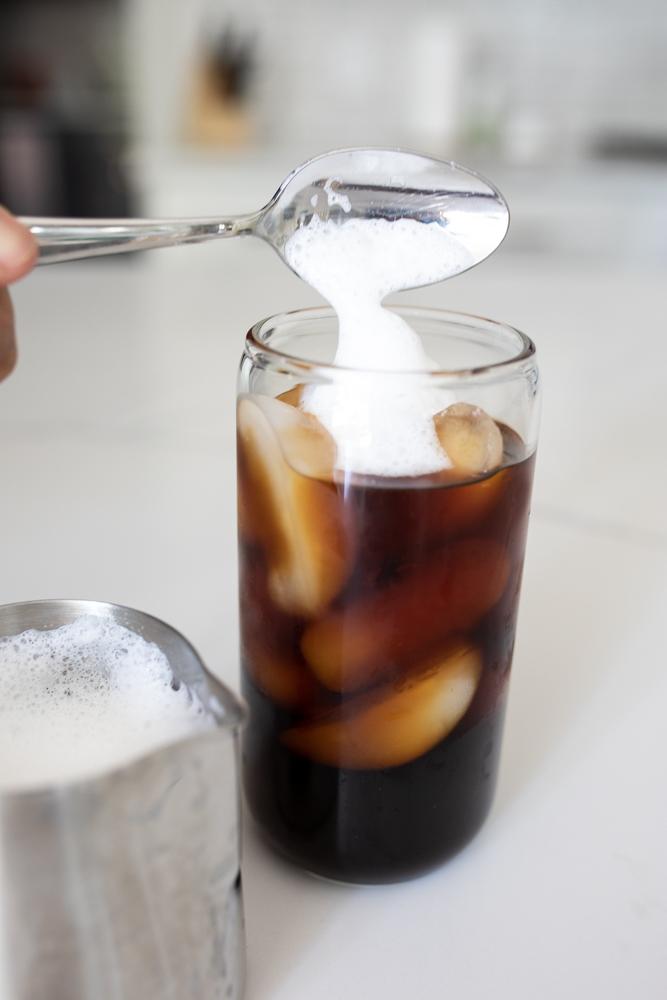
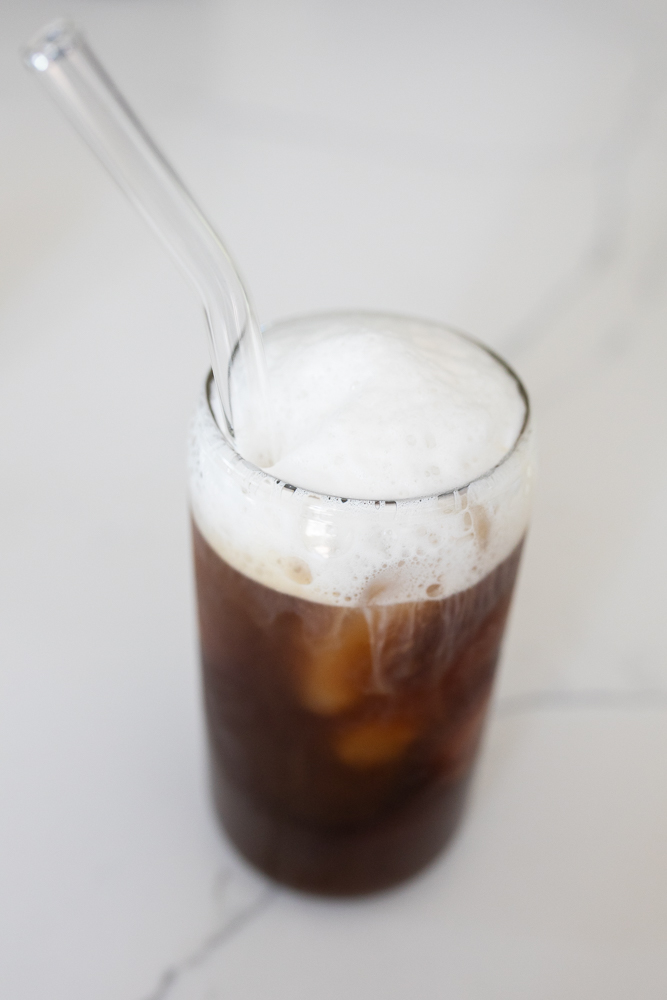
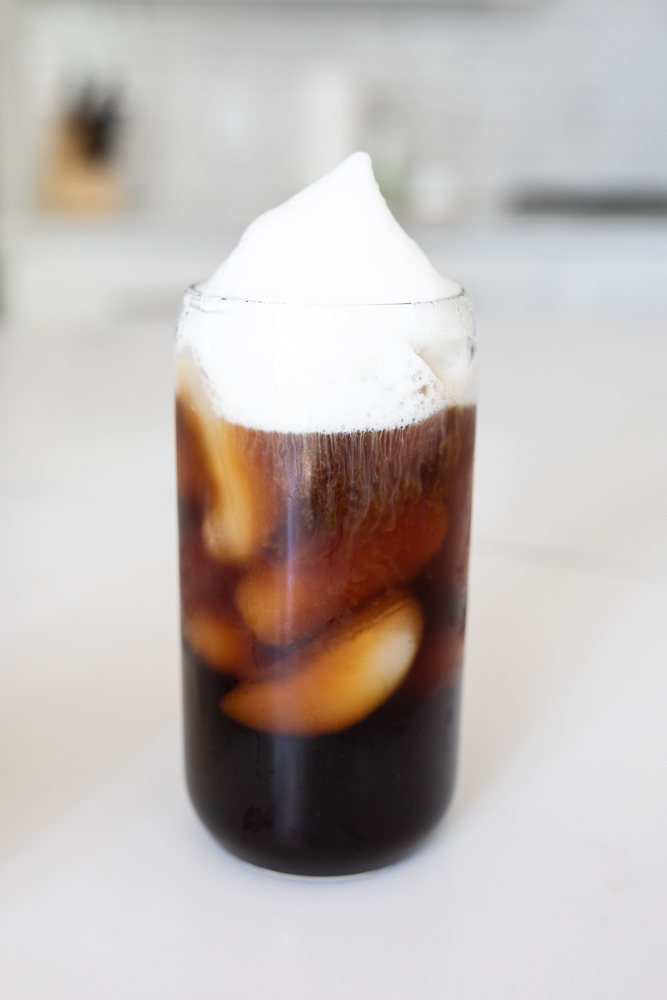
Top your iced drink with cold foam. It will seep slowly into the drink, making it extra creamy. Add another dimension with basic flavor and sweetener inclusions.
It costs almost nothing to try at home and takes very little time to make your drinks look and taste amazing.
Best Milk
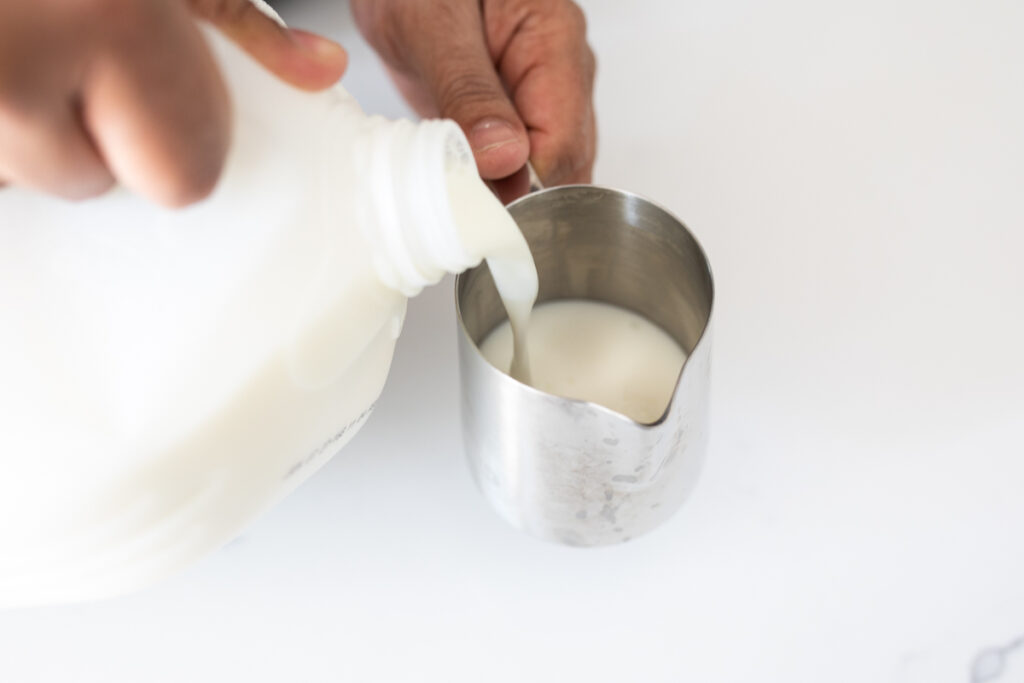
The kind of milk you use makes a big impact. Nonfat milk (or skim milk) is the best dairy option for creating cold foam at home. This is because it has a higher concentration of protein by volume compared to full fat or whole milk.
While you can also get a decent result with 2% milk or heavy cream, you should expect your foam to be less stiff with every increase in fat content you make. Always be sure to use cold milk too!
If you prefer plant-based milk you can try coconut cream, oat milk, almond milk, or coconut milk.
5 Methods To Make Cold Foam
There are a few different methods in how you can actually make cold foam. While our top pick is using a milk frother, here’s all 5 to choose from!
1. Milk Frother
A milk frother is probably one of the easiest, fastest products to prep cold foam to get that Starbucks copycat consistency. They’re quite affordable, and you can get a handheld milk frother, an electric milk frother or a Nespresso attachment.
(Check out our step-by-step guide on how to use a milk frother).
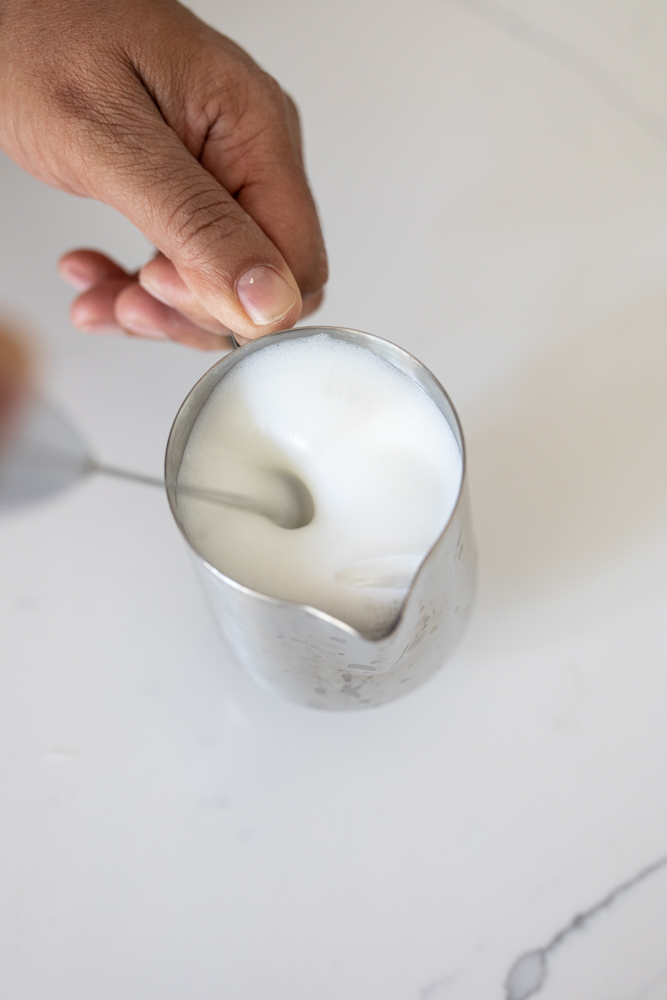
You can use a frother for hot and cold foam prep, which is handy for hot chocolate and coffee drinks. They’re also pretty compact, which is nice from a storage perspective. The one gripe I have with this tool is that it’s otherwise one-dimensional.
2. Immersion Blender
An immersion blender can do everything a milk frother will. On top of that, it will make soups, sauces, shakes, and smoothies. I like that it’s more versatile than a milk frother, but you will spend about twice as much money.
Some models have a lot of power, so be sure to start frothing on low power and increasing as the foam builds. Taking this approach will save you from a mess.
3. Blender
You may have noticed that Starbucks uses a blender with a special blade attachment. In my opinion, a blender is overkill unless you’re making cold foam in big batches. Plus, it’s expensive. With a blender, you can expect a minimum of about 1 cup of cold foam per batch. That’s a lot!
4. Mason Jar
If you’re a minimalist with muscles, then a mason jar is a great way to prep cold foam. The first step is to, add milk to your glass, then add a lid, then get to shaking! In my experience, it’s tough to achieve the same level of result you might with a machine.
5. French Press
You can also rapidly plunge milk into your french press to aerate it and create a cold foam. The tiny holes in the frother mesh inject air bubbles and build a light, fluffy foam.
Foam from a french press is not as consistent as foam from a machine. And it can be messy if you’re not careful.
If you are committed to a human-powered approach for cold foam, then French Press is less strenuous than the mason jar method.
Easy Instructions
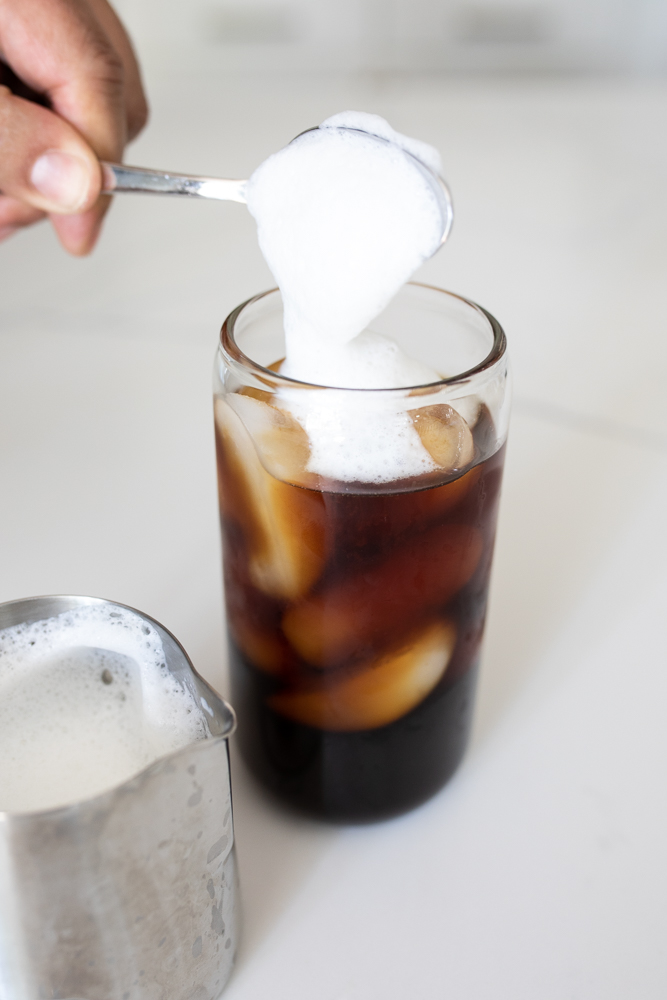
- Add milk to your mixing vessel. If you’re starting with a milk frother, fully submerge the whisk end of the device.
- Agitate until the milk starts to foam and thicken. If you’re using a machine, this should only take about 20 seconds. Manual frother methods may take longer. Stop when you get a creamy texture.
- Transfer the foam to the top of your drink when it is light and voluminous. It’s easiest to use a spoon. Place gently so that the foam rests on the surface and doesn’t mix with the underlying beverage.
- That’s all. Now it’s time to enjoy!

Variations
Cold foam, by itself, adds a nice texture complexion to any cold drink. But sometimes that’s not everything you want. Adding a sweetener, flavor, or cream can add an extra dimension. Here are some tips you can follow the next time you make cold foam!
- Sweeteners – A little sweetener can go a long way, especially when dressing up a bitter drink. In most cases, I like to add a neutral-flavored sweetener like simple syrup or vanilla syrup or powdered sugar. Sometimes honey or maple syrup is the right choice. Just be aware that flavored sweeteners will blend together and affect the end taste of your drink.
- Flavors – Include a dab of vanilla extract or bean paste to add richness to almost any drink. Try almond or hazelnut extract to make a nutty profile mixture. Depending on your mood (or season) adding peppermint, matcha, and pumpkin spice may fit the moment.
- Cream – Although using whole cream isn’t a traditional element of cold foam, it’s easy to add an extra creamy element. The end result will taste less stiff or dry than standard cold foam.
When To Use Cold Foam
Cold foam isn’t only for coffee. It also works with other cold beverages such as iced chai, iced tea lattes, smoothies, and more. Here are a few great places to start:
- Cold Brew Coffee
- Iced Coffee Drinks
- Iced Latte
- Iced White Chocolate Mocha
FAQ
Cold foam can be prepared using only milk. It’s that simple. In many cases, cold foam is also prepared with a sweetener like simple syrup or a dash of flavor like vanilla extract.
Cold foam is best immediately after making, but it will last 2-3 days in an airtight container in the refrigerator. Be aware that, in most cases, you’ll need to re-froth stored foam before serving.
Cold foam quickly melts in hot beverages, so it’s not an ideal addition in most cases. Some people like it, but as a rule of thumb – use hot foam for hot drinks. And cold foam for cold drinks.
Cold foam can be made without a dedicated milk frother. An immersion blender also does a great job, and a countertop blender will work for bigger batches. It’s also possible to ‘blend’ or prepare cold foam using a mason jar or french press, although both methods require much more effort than working with a machine.
Difference Between Cold Foam and Whipped Cream Cold foam is pourable, and it’s like a cold version of hot, steamed milk froth that goes into lattes. Whipped cream is thicker and can hold a shape. What is this? Both are made by adding air into milk or heavy cream, creating tiny air bubbles.
Sweet Cream Vanilla Cold Foam Recipe
Equipment
- Milk frother
Ingredients
- ¼ cup Non-Fat Milk
- 1 tsp Simple or Vanilla Syrup
- ¼ tsp Vanilla Extract
Instructions
- Add all ingredients to a small pitcher. Submerge the whisk end of your milk frother.
- Agitate until the milk starts to foam and thicken, about 20 seconds.
- Transfer the sweet cream cold foam with a spoon to the top of your drink.
- Enjoy!
Sweet Cream Cold Foam
Total Time: 2 minutes
Category: Drink
Yield: 1 Serving
Ingredients
- ¼ cup, Fat Free Milk
- 1 tsp, Simple Syrup or Vanilla Syrup
- ¼ tsp, Vanilla Extract
Instructions
- Add all ingredients to a small pitcher. Submerge the whisk end of your milk frother.
- Agitate until the milk starts to foam and thicken, about 20 seconds.
- Transfer the sweet cream cold foam with a spoon to the top of your drink.
- Enjoy!
Looking for more great coffee guides? Check these out!

very clear and good article easy to understand. Thank you