
Many variables contribute to the quality of an espresso. First, you have to nail the grind, dose, temperature, pressure, and so on. However, an underrated but essential part of the espresso-making process is tamping.
The quality of the tamp determines the brew itself. A tamped puck creates resistance as the water saturates and filters through to extract that rich coffee flavor.
As a result, untamped espresso won’t brew evenly, and you’ll end up with coffee that’s bitter, sour, and unevenly extracted.
There are some essential tips and tricks to achieve the best tamp. Together, we’ll go over what exactly tamping is, what you’ll need, how to do it, and all the insider secrets and know-how to brew espresso like a pro.
This post includes affiliate links.
What Is Tamping?
Tamping is something baristas employ to create the ideal puck of espresso. Once the portafilter has been loosely dosed with finely ground beans, a tamper is used to disperse and compress the grinds evenly. The result is an even, clean, tight but not-too-tightly packed puck of espresso grinds.
Now, the water will have to work through the resistance created by the finely ground coffee granules. The puck will become saturated through hot water extraction and pressure. This forces the oils from the ground beans through the filter and into the waiting cup beneath.

Evenly extracted coffee and oils result in thick, full-bodied, robust espresso. An excellent tamp will also ensure you have a considerable layer of espresso crema crowning each shot that you pull.
An uneven puck will have weak spots where the water runs through the grinds without any extraction. This is how espresso can turn out weak, thin, watery, bitter, or sour. The quality of your espresso shots relies on achieving the ideal grind size, dose, and tamp of the beans.
What You’ll Need
- Espresso Machine – There are tons of home espresso machines on the market. Some better than others. If you want to add a quality espresso machine to your setup, start here!
- Espresso Beans – You don’t necessarily have to go out and buy “espresso beans.” As long as you have a coffee grinder capable of a consistent, fine grind, you can brew delicious espresso.
- Grinder – You’re going to want a burr grinder when brewing espresso. Unfortunately, a blade grinder just won’t cut it for the consistent, super-fine grounds necessary to pull a balanced shot.
- Scale – Brewing espresso can be a science, and like with all experiments, it’s best to have accurate measurements. The best way to ensure accuracy when dosing is to weigh your grinds. For consistent, reliable espresso pulls, use a scale (we really like this one!).
- Portafilter – Whatever espresso machine you purchase will come with a compatible portafilter. Along the way, you can usually buy modifications that allow you to use coffee capsules or brew smaller or larger amounts of espresso at a time.
- Espresso Tamper – When choosing a tamper, the first thing to do is measure the inside diameter of your portafilter. The tamper needs to fit inside the filter basket, so take your measurement and use a tamper about .75mm smaller. There are plenty of different materials, finishes, and grips. To keep it simple, look for a tamper between 1-2 pounds, made of a heavy material like stainless steel.
- Distribution Tool (Optional) – The key to a great tamp is the level, even distribution of the grinds. You can purchase a distribution leveler or wire-pronged tool. These help to spread the dose evenly throughout the portafilter before tamping.
How To Tamp Espresso In 4 Easy Steps
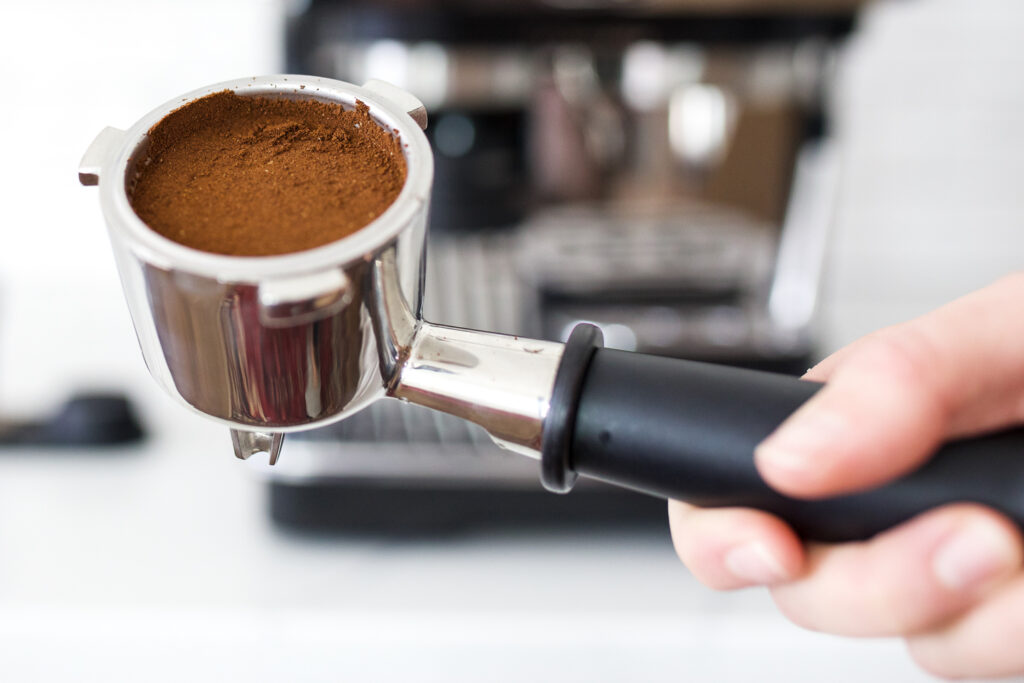
- Tare, Grind, & Dose
Start by placing your portafilter onto your scale and taring the weight (zero out the scale with the protafilter on it). This will allow you to achieve the most accurate dose.
If you’re brewing a single shot, you’ll need between 7-10g of fine espresso grounds. For double baskets, you’ll need between 16-18g, and for triple baskets, you’ll need 20-22g.
Weigh the grinds on the tared scale until you reach the perfect dose.
PRO-TIP: As you’re dosing your portafilter, it’s important to ensure the grinds are evenly distributed. Otherwise, it’ll be uneven in the basket when you go to tamp. To remedy this, move the portafilter around in concentric circles as you dose it to spread the grinds evenly throughout.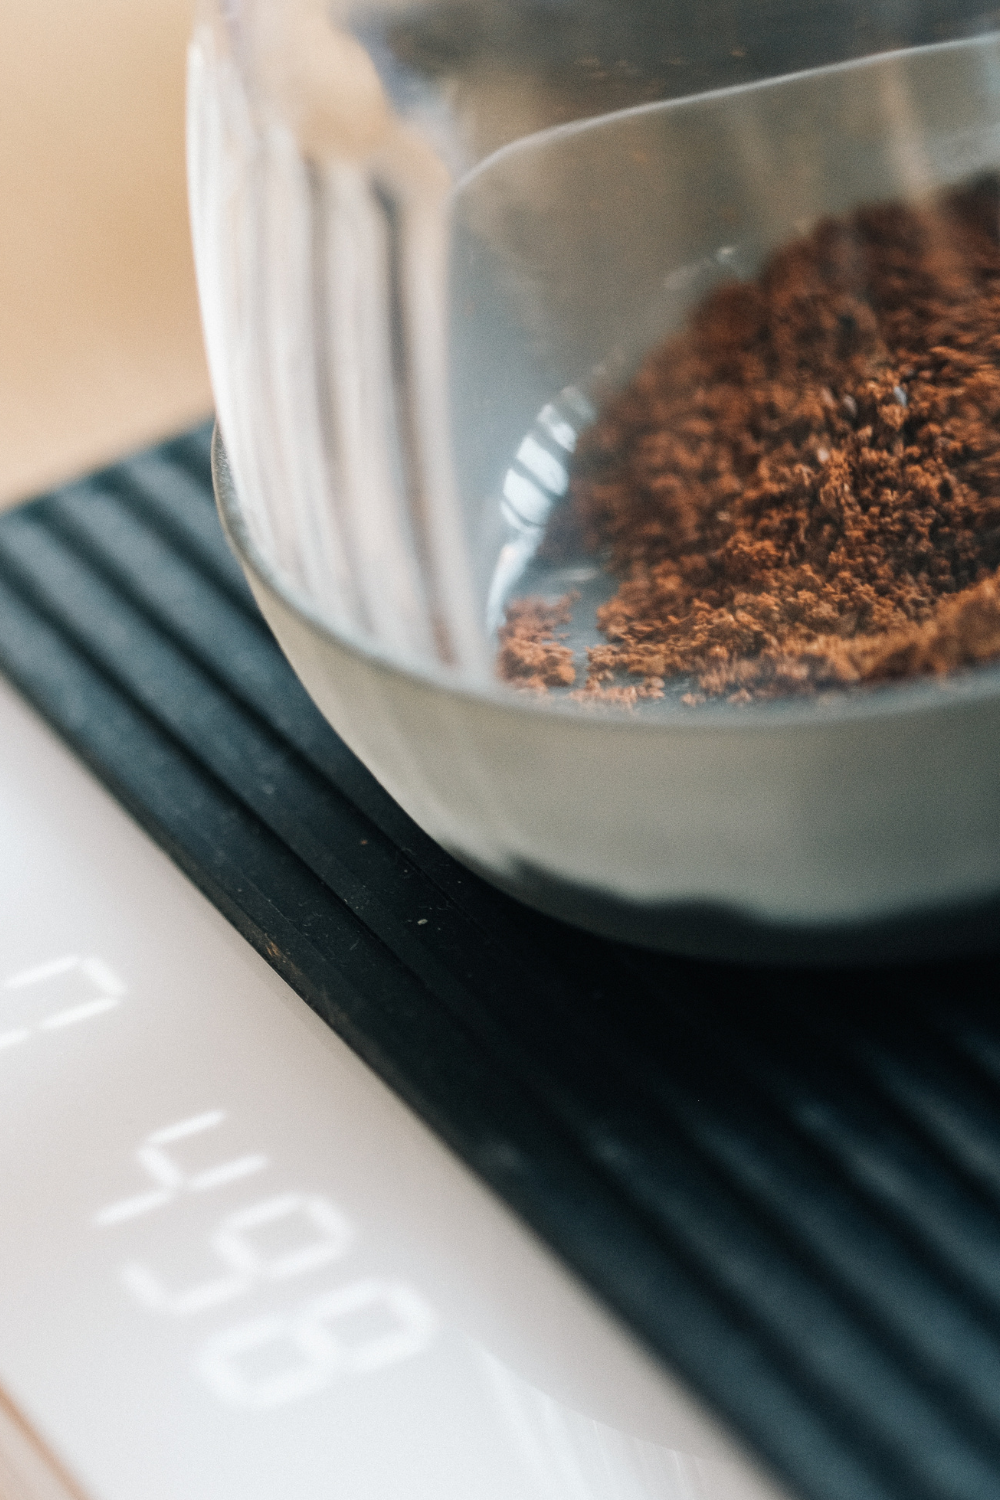
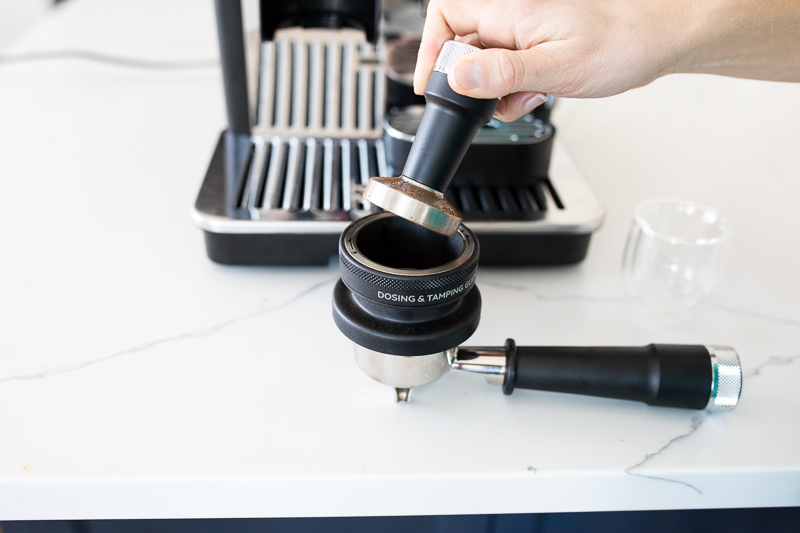
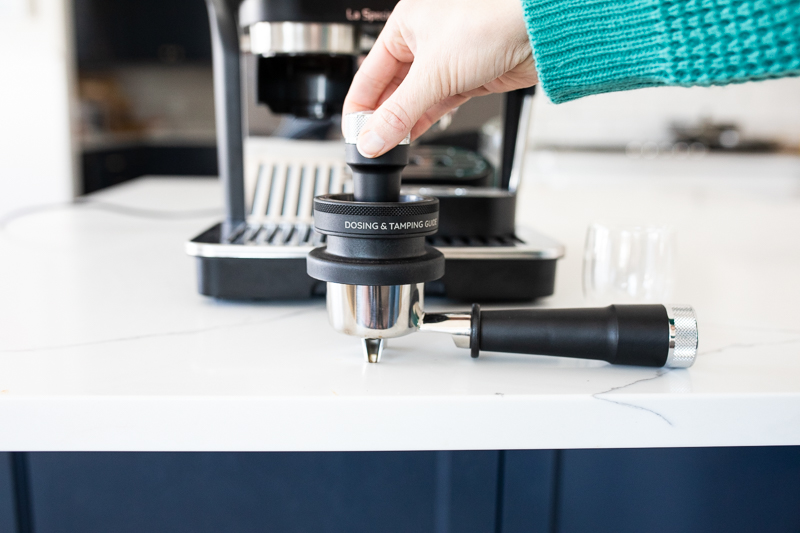
- Spread & Distribute the Grinds (Optional)
If you have a distribution tool, you can use it now to spread the dose evenly throughout the portafilter. Completing this step before tamping gives you extra insurance to achieve the perfect espresso puck.
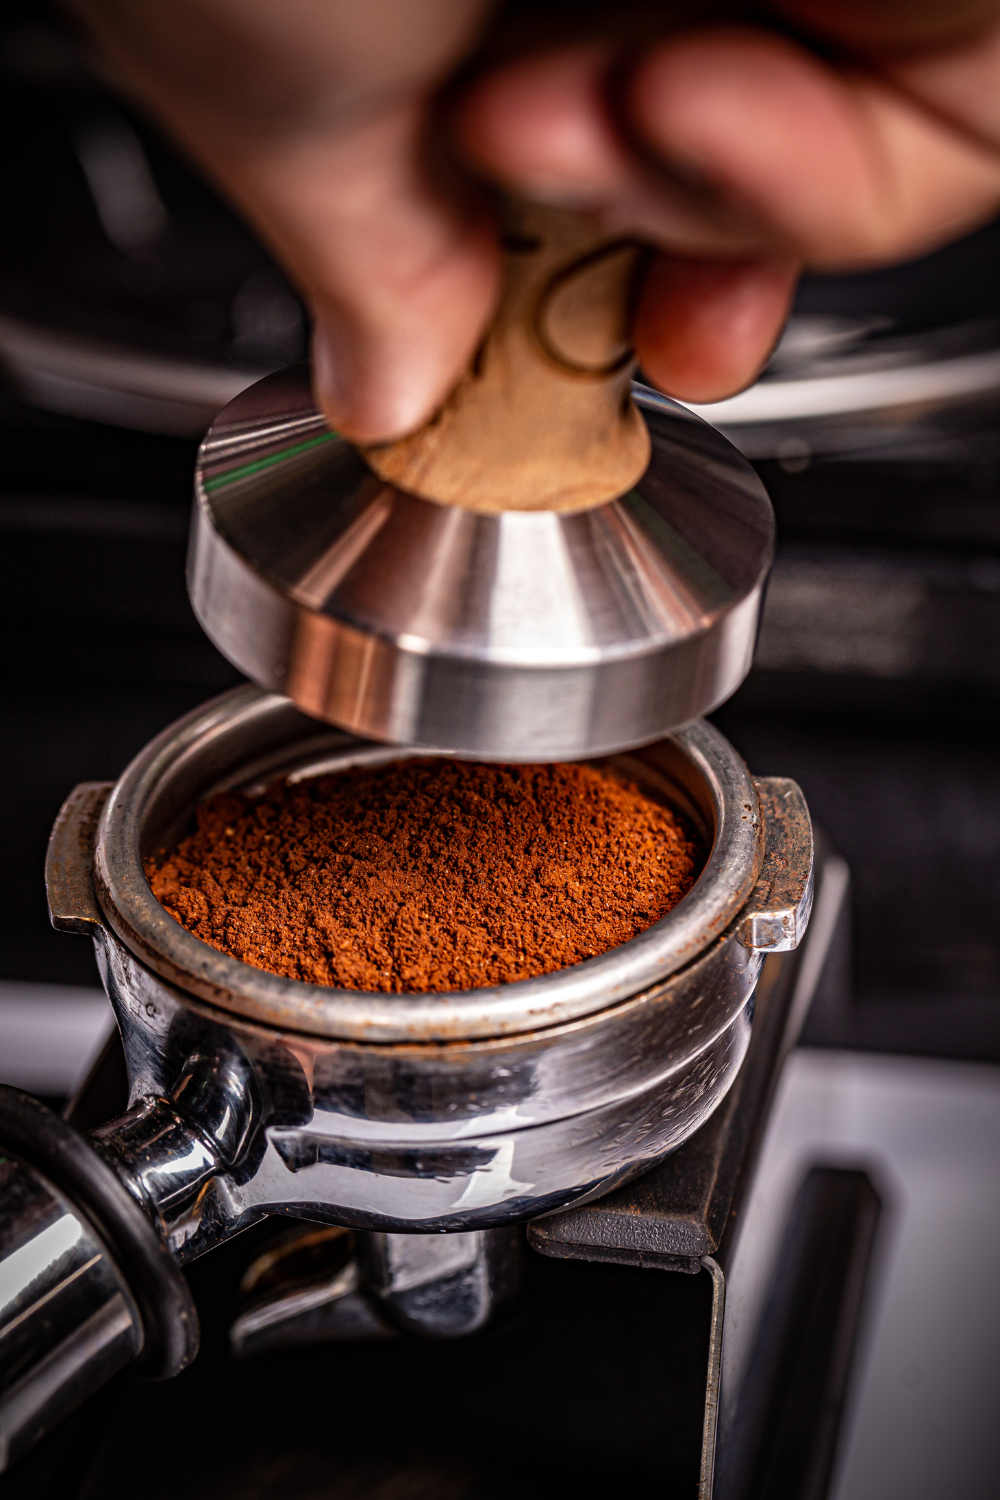
- Apply Level, Even Pressure with Tamper
If you have a weighted tamper, you won’t have to apply much pressure at all. Instead, place the tamper onto the portafilter, ensuring it is level and not at an angle. Then, let it compress the coffee on its own, lift it away, and you’re done!
Otherwise, place the tamper into the portafilter, ensuring it’s level and not angled. Apply moderate, consistent pressure with one clean compression, then remove the tamper. Now, you’re ready to brew.
PRO-TIP: If you purchase a tamper with a collar, you’ll always have a level, even tamp. The collar will sit flush against the rim of the portafilter to create a seamless tamp.
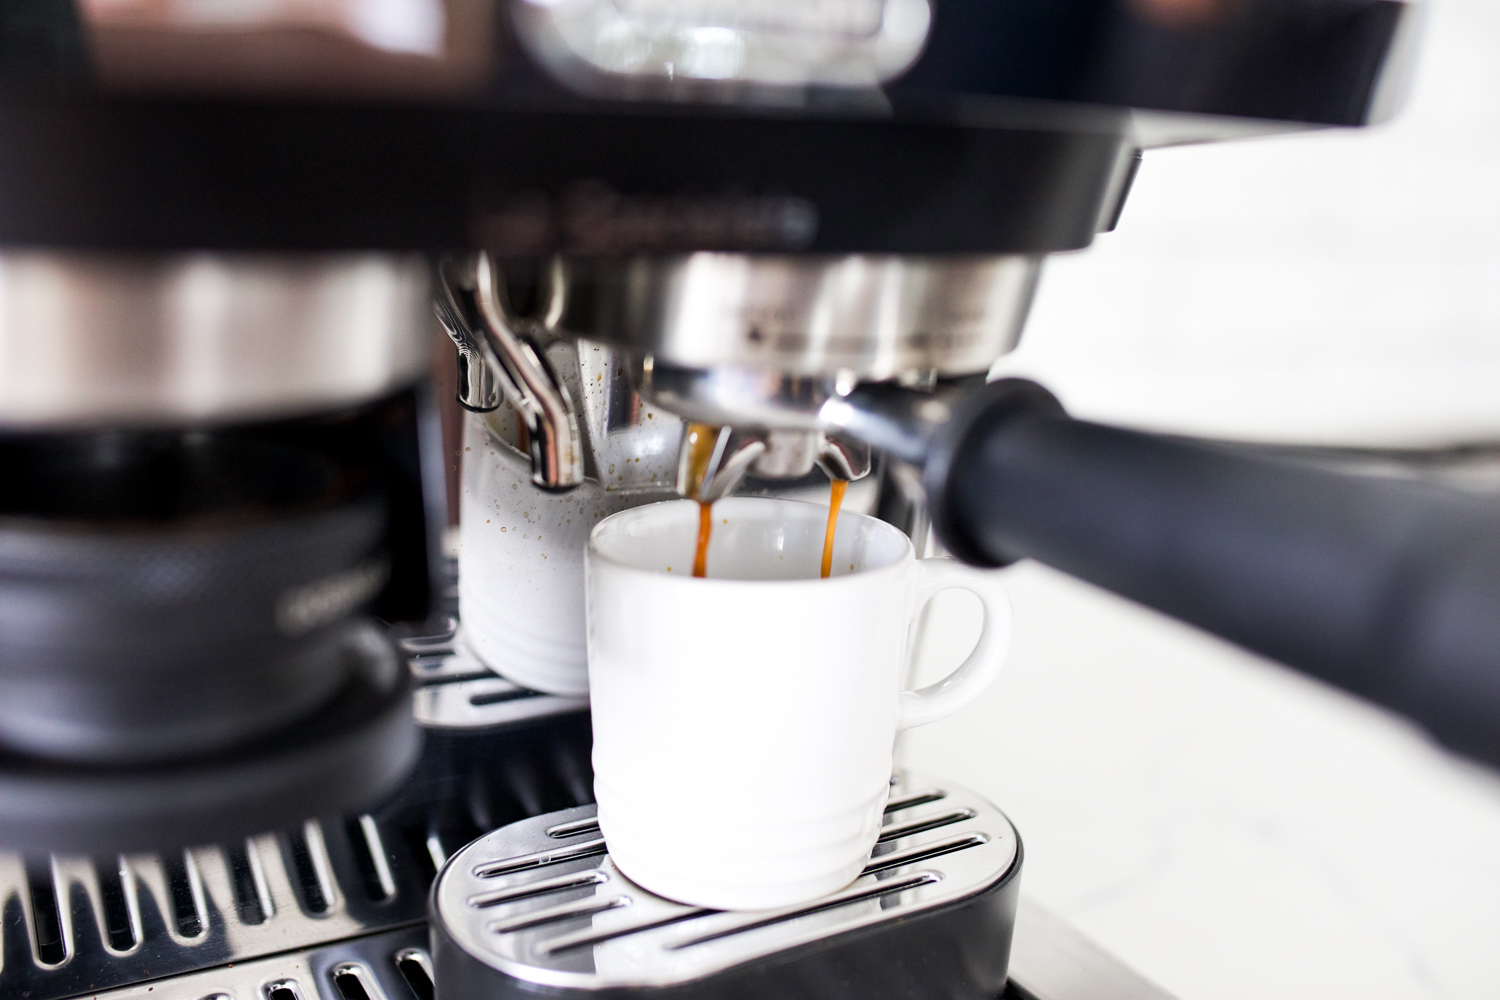
- Pull the Shot
Now, you can connect the portafilter to the group head of your espresso machine and brew that coveted rich and silky smooth coffee.
Tamping Tips & Tricks
Grind Size
For the best espresso, you’ll need a consistently fine grind. You’re looking to achieve the size and feel of granulated white sugar.
Perfecting the grind will ensure that the water doesn’t run through the puck too fast or too slow. Too coarse of a grind, and the water will flow through the puck too quickly, leaving you with under-extracted coffee. Too fine, and you’ll end up with a burnt, over-extracted taste.
Dosing
Other coffee brewing methods allow for some wiggle room with dosing. For example, you can get away with using a coffee scoop when making drip coffee. On the other hand, when brewing espresso, you’ll need more accurate measurements to achieve the taste and consistency you’re after.
Weighing the coffee grinds is much more accurate than measuring by volume. A standard shot of espresso needs a 1:2 ratio of ground coffee.
Since each espresso shot is served in 1oz portions, you’ll need to measure your grinds to hit the 9g of finely ground coffee sweet spot.
Cleaning
It’s essential to keep your espresso machine’s components as shiny-clean as possible for the best-tasting coffee cup after cup. That means cleaning it thoroughly and wiping it down after each use.
You can disassemble the filter basket from the portafilter and give it a good scrub under hot running water with a scouring brush.
It’s also a good practice to run a hot water flush through the group head and portafilter between shots or uses. This way, you can keep it clean before the coffee has time to dry and cake on.
A well-tamped espresso puck will prevent splashback and messy, swirling coffee from dirtying the group head.
Espresso Tamping FAQs
The sweet spot for creating the perfect espresso puck is to apply between 20-30 pounds of pressure when tamping. Or, you can purchase a 1-2 pound, high-quality heavy-material tamper to do the work for you. Skip on the plastic tampers and instead go for one made of stainless steel.
There are a few ways to fix weak, thin espresso. First, check the grind size. You’ll want very fine grounds for slow and even extraction. Next, check the temperature of your water. If the water is too hot, or you’re using too much, you’ll end up with bitter, watery espresso.
Espresso machines use pressure and hot water to extract concentrated coffee from finely ground beans. During this process, micro-air bubbles form and attach to the oils of the coffee and rise to the top. They form a creamy-looking, aromatic, flavorful foam that rests on the top of an espresso shot. This layer of silky, velvety microbubbles is called “crema” and is the sign of perfectly pulled espresso.
Free Coffee Art Printables
Don’t forget to get on the list before you go! You’ll get 3 free coffee art printables delivered when you sign up and weekly coffee tips and tricks, product reviews!
Now that you’ve made the perfect espresso shot, how about some stylish espresso cups to sip your shot out of?