
If you like your coffee hot, there’s no better brewing solution than a stove top percolator. This old-timey device is both inexpensive and easy to use.
The truth is that you don’t even need electricity to make a decent cup of coffee!
In this article, I’ll walk you through how to use a percolator, how a percolator is different from similar-looking methods, and some of the variables you’ll need to pay close attention to get the best results from your percolator!
This post includes affiliate links.
What is a Percolator?
Before I launch into how to use a this device, let’s make sure we’re talking about the same gadget!
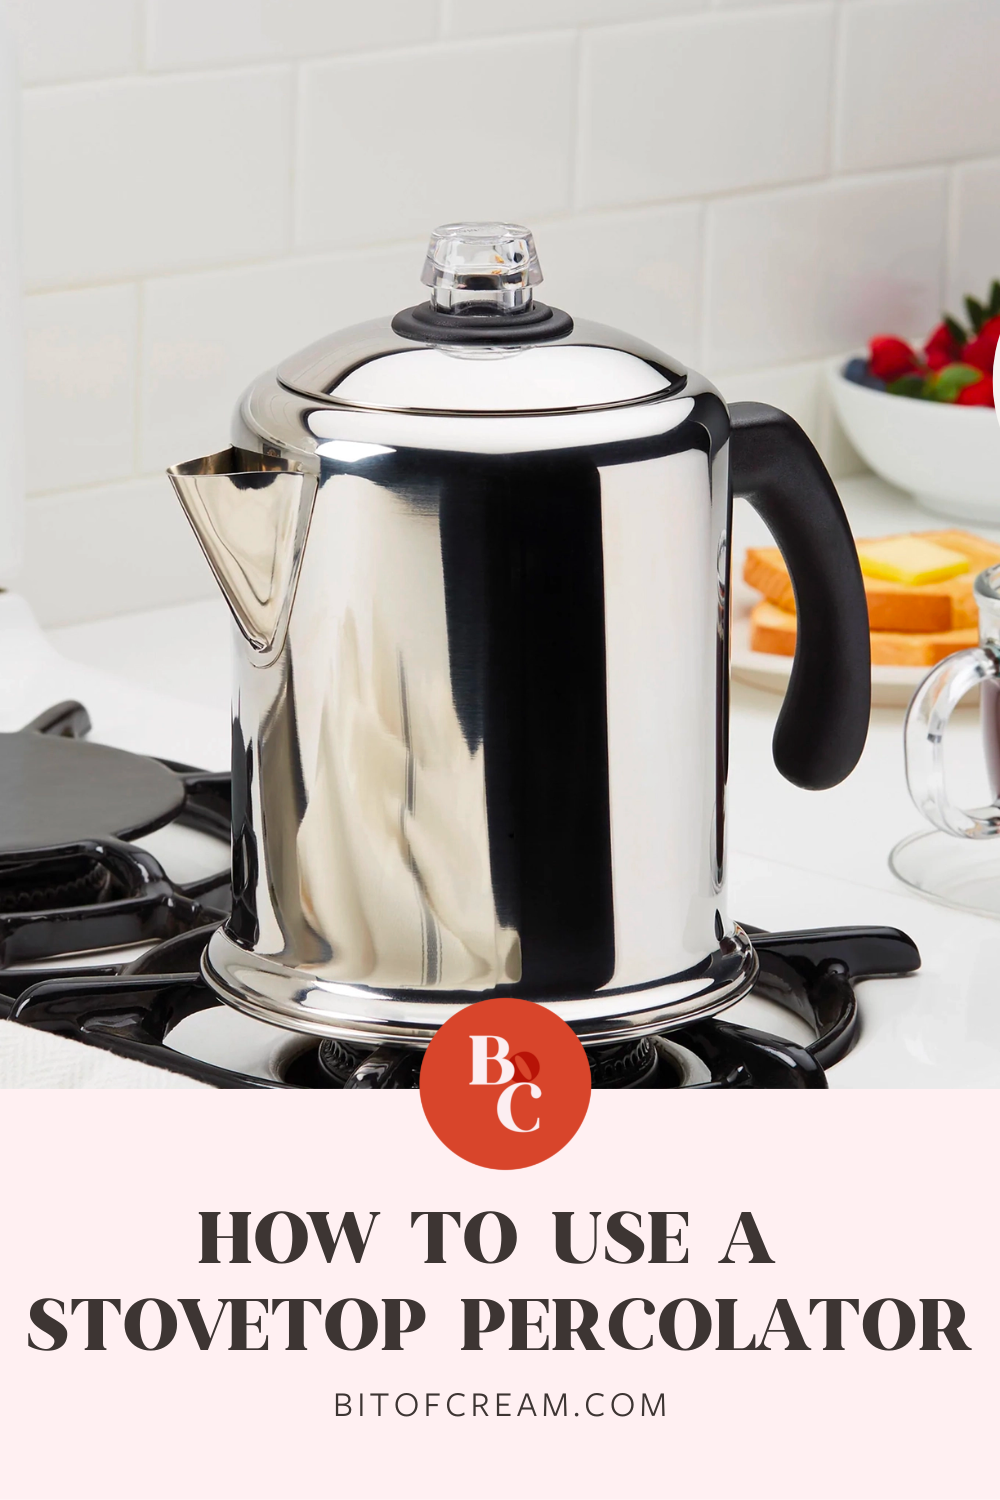
From the exterior, a percolator looks like a tall kettle. If you lift the lid, you’ll find an internal spout system that channels hot water from the bottom of the pot and dispenses it over a basket of ground coffee.
Gravity then percolates the water through the coffee pack in the filter basket. During this process, small coffee solids dissolve into the water before dripping back into the main kettle chamber through tiny holes in the filter basket.
Percolator vs. Moka Pot
A similar-looking device, called a Moka pot, is also frequently referred to as a “percolator.” This is not the device that I’ll be covering in this tutorial.
The main difference is that a Moka pot uses steam pressure, rather than gravity, to create coffee extraction, and once the coffee is extracted, it fills a second reservoir rather than recirculating back into the primary kettle.
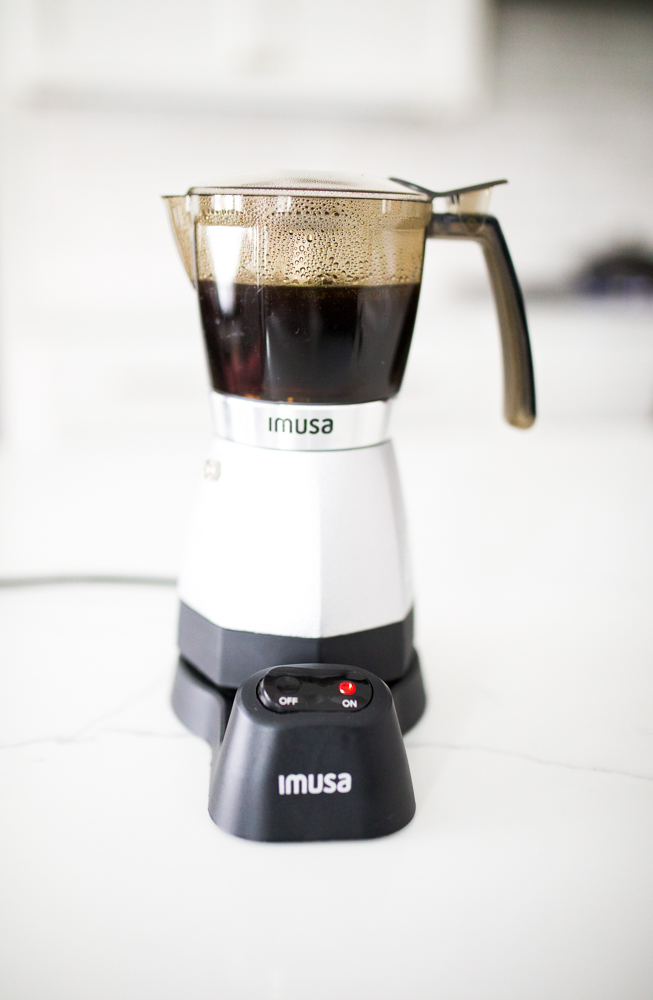
On the surface, these small distinctions may seem insignificant, but the truth is that they create a huge difference in the body and flavor of the resulting coffee.
Percolator vs. Drip Pot
In terms of how to use these two devices, these brew methods are actually very similar. It’s not surprising since percolation is the direct forefather of a drip pot.
Recirculation is the big difference.
With a percolator, given enough time, the same water will be forced through the coffee filter basket repeatedly. Of course, this isn’t the case with a drip pot.
For this reason, a percolator isn’t a “set it and forget it” device like Mr. Coffee.
Stovetop Percolator vs. Electric Coffee Percolator
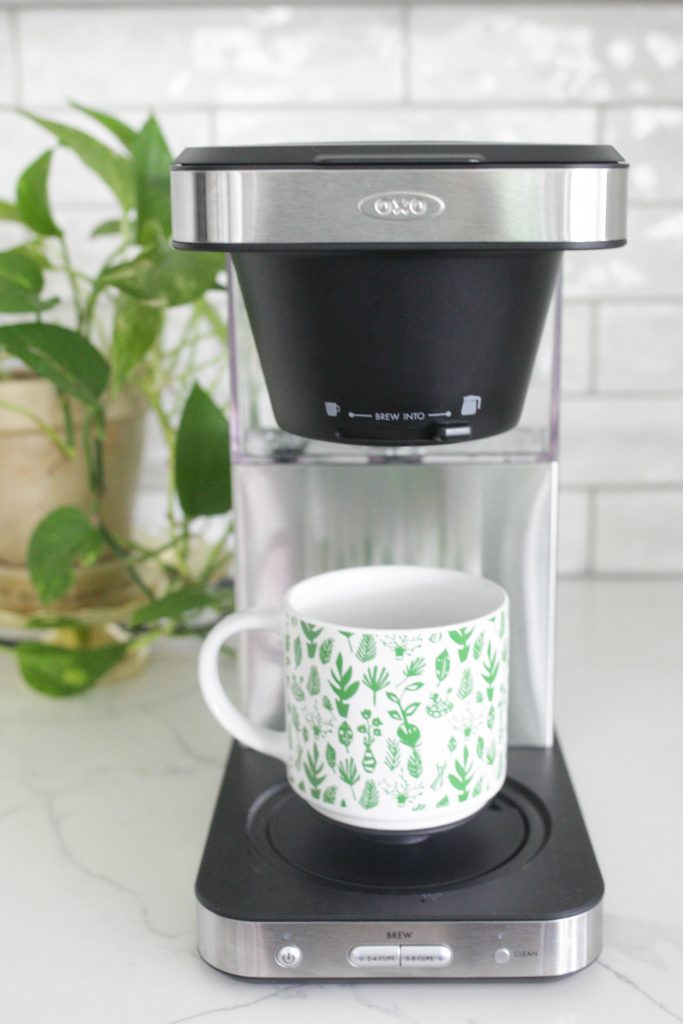
Although the classic percolator is designed to run on a stovetop (or over a campfire), you can also find electric versions these days.
If you’re on the hunt for one, I’ve broken down what to look for and a few recommendations for the best percolator coffee makers in a separate post!
An electric percolator is less attention-intensive than the stovetop version. And you can still make a great cup of coffee. But there are tradeoffs.
- Classic electric percolator brews from 2 to 10 cups of great-tasting coffee, hot, rich, and flavorful, for you to enjoy your day.

Electric percolators are usually slower, and you have no control over temperature or extraction time. You get what you get. And, if the power goes out, you get none!
Although a stovetop percolator takes a little more work, it gives provides a lot more control. You may not care about control options when brewing your first pot, but by the 100th time, you probably will.
Core Benefits of Percolators
There are a lot of folks who choose percolators because the coffee comes out so hot. After all, the coffee continuously boils while it brews. But temperature isn’t the only distinct quality of coffee from this device.
The flavor can get very strong. And, if it’s not brewed properly, the coffee in your cup is also likely to taste bitter or burnt.
Like most things, the devil is in the details!
What You’ll Need
- Coffee Beans – like any brew method, it’s best to start percolation with whole beans that were roasted in the last 2-3 weeks. Pre-ground coffee goes stale quickly, but if that’s your only option, choose coarsely ground beans as you’d use for French Press.
- Coffee Grinder – if you’re using whole-bean coffee, you’ll also need a coffee grinder. I’d recommend using a burr grinder in order to avoid bitterness in your percolator coffee. You may be surprised at how much better and more consistent results you’ll get as compared with a blade grinder.
- Filtered Water – if you can, always start with filtered water. It’s 99% of what you’re drinking, and chemical additives in public water will wreak havoc on the flavor of your coffee.
- Percolator – I’ll use stove top percolators for this tutorial because it provides the user with the most control over the result, but an electric model will work just as well.
- Digital Scale (optional) – to create the best-tasting drink, measure your ground coffee by weight. Digital scales, like this one, are so inexpensive these days, there’s really no reason not to have one. It will take your coffee, baking, and cooking to the next level!
Step-by-Step Percolator Tutorial
1. Prep The Coffee
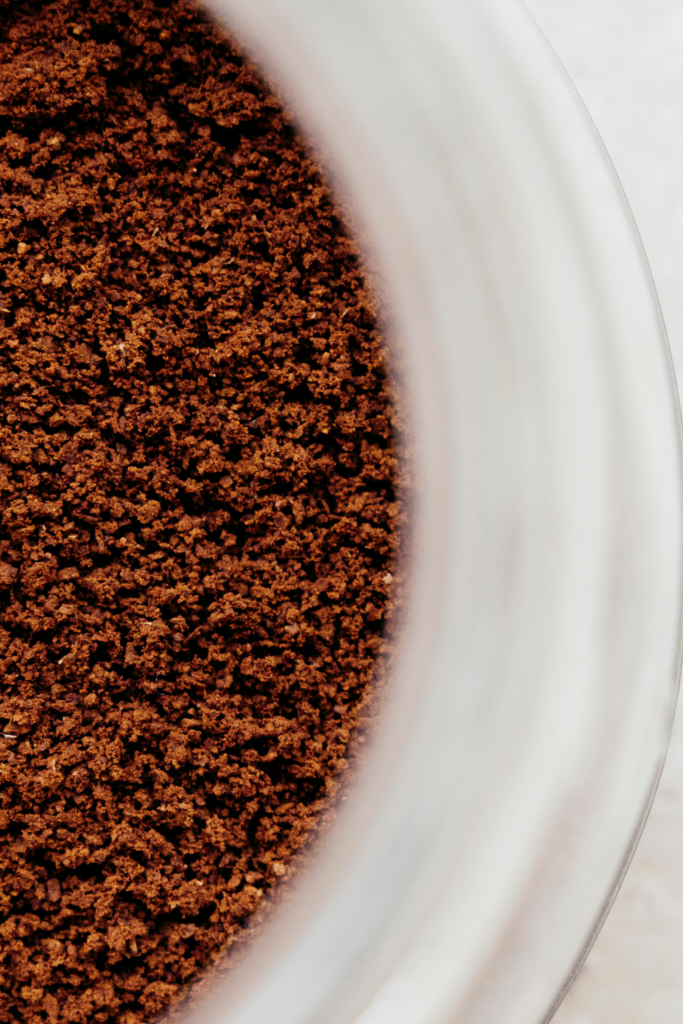
For best results, always start with whole-bean coffee. Only prepare the grind shortly before you brew the coffee. Use a coarse setting on your burr grinder, similar to what you might select for a French Press.
2. Prep The Percolator
Add cold water to the kettle reservoir. Filtered water is always best because chemical additives, as you’ll find in most water systems, will leave a chemical taste in the coffee.
Secure the percolator stem and filter basket inside the kettle, and add your coffee grounds. Add 1 gram of ground coffee for every 17 grams of water in the kettle. If you don’t have a digital scale, check the conversion chart below this tutorial.
Cap the filter basket and the kettle. Then get ready to start brewing!
3. Heat Slowly
Place the Percolator on a stove top over medium heat. We start with cold water and a low temperature because we want to remain below a boiling point to avoid burning or bitterness in the end product.
Our ideal temperature target is 195-200 F.
Most percolators don’t have a built-in thermometer, and most stove top elements fluctuate in temperature. You’ll need to use your senses to monitor the brewing process.
4. Monitor Percolation
Set a timer and start watching. Most modern home-use percolators are equipped with a small plastic or glass viewing globe on the kettle cap.
Look for a few bubbles to form there, not more than one every few seconds. Maintain a constant temperature when you achieve this result.
You’re witnessing water moving up from the kettle through the metal stem and dropping down onto the coffee grounds in the fill basket.
If you do not see any bubbles, then your water is too cold. And if the bubbles are constant, then your temperature is too hot.
Adjust the temperature accordingly, and remove from the heat after 5 minutes of percolation.
5. Let It Rest
When removing your percolator from the heating element, there is still water traveling through the ground coffee in the filter basket. Since this process is gravity-driven, it requires a few minutes to complete. Move your device to a back burner and let it rest for two minutes.
6. Discard The Grounds
A small but important step – always discard the grounds before serving. That way, they don’t over-extract, land in your mug, or stain the inside of the kettle.
7. Serve
It’s time to enjoy your coffee! Remember, most people like this method because the coffee comes out incredibly hot. Steady hands are key. It’s easier than you’d expect to get burned with a spill.
Percolator Tips & Tricks
Grind Size
Using the right grind size is especially important when you’re brewing coffee with a percolator because of the filter basket design. Always pick a coarse grind.
Gravity channels extracted coffee through small holes in the bottom and sides of the brew chamber and back into the kettle’s main reservoir. If your grind is set finer than the diameter of the holes, expect a mouthful of bitter solid coffee in your first sip.
This problem is the same reason why a burr grinder is greatly preferable to a blade grinder for percolator coffee. With a blade grinder, you can expect a huge variation in the diameter of coffee grinds.
The large pieces won’t extract properly, and the small ones will end up in your drink. Yuck!
If you don’t grind your own coffee, most pre-ground coffee labeled for use with French Press should work fine.
Dose Ratio
For a percolator, the ideal ratio of coffee-to-water is 1:17
Take this as a starting point. If you need stronger coffee, adjust the amount of coffee up or the water down.
Just remember, dosing ratios are always measured by weight. Not volume.
Why? Because density matters.
A given scoop may contain 50% more coffee than another that is similarly sized, and looks nearly identical. It depends on the grind size, if the scoop was compressed, and the weight of the roasted bean you’re using.
If you don’t have a digital scale, I’d highly recommend putting one on your list of next small kitchen investments. If you’re measuring by volume today, here’s a quick (and inexact) reference guide how to measure out your ground coffee:
| Servings | Water Volume | Water Weight | Coffee Weight | Coffee Volume |
| 1 | 8 fl oz | 237 g | 14 g | 2 Tbsp |
| 2 | 16 fl oz | 474 g | 28 g | 4 Tbsp |
| 3 | 24 fl oz | 711 g | 42 g | 6 Tbsp |
| 4 | 32 fl oz | 948 g | 56 g | 8 Tbsp |
| 5 | 40 fl oz | 1185 g | 70 g | 10 Tbsp |
Temperature
The ideal temperature for brewing with a percolator is 195-200 F. This is slightly below boiling.
The compounds in coffee that create flavor and aroma dissolve more quickly at a higher temperature.
Unfortunately for us, the increasing temperature doesn’t simply make the process go faster. Some compounds extract before others – and raising the temperature means that smoky, burnt, and bitter flavors will extract to a greater degree.
In short, if you let the temperature get too high, then your coffee may quickly taste burnt and bitter. Small changes in temperature drive big changes in flavor.
Cleaning Your Percolator
Wait 15 minutes after brewing before cleaning out your percolator. This helps avoid any damage by quickly lowering a hot vessel’s temperature.
Pour out any remaining liquid, and confirm the extraction basket has been emptied. Spent coffee grounds make excellent compost.
Remove the stem and basket from the kettle. Wipe all of the individual components down with a soapy cloth or sponge, then rinse under tap water.
Expect your percolator to stain after extended use. It’s normal.
There are many ways to combat staining, but the easiest way is to run a normal brew cycle without any ground coffee. Add a few Tablespoons of baking soda to the water reservoir before heating. Once the water has cooled, rub down all of the components with a dish towel. Then rinse.
Stovetop Percolator FAQs
Prepare the percolator First, add cold water to the percolator reservoir. You can use filtered water here if you prefer, but it’s not as important with percolator coffee due to the stronger coffee flavors inherent in this brewing method.
Turn off the heat was the coffee starts “perking.” This is when the percolator makes a spurting whistle sound. This signals that the brewing process is done and it should be removed from the heat source. Let the coffee sit for a few minutes until it cools. Then pour it out and enjoy!
The best coffee to use in a percolator is a whole bean medium roast. Whole beans are almost always better than pre-ground (4), for both flavor and optimization of grind size.
Looking to get the scoop on more coffee gadgets? Check out these reviews!